
Some days, you just need dessert. Not just any dessert, though – something rich, indulgent, and just the right amount of decadent.
For me, that moment came after a particularly challenging workout session. I wanted something sweet but didn’t want to derail my progress.
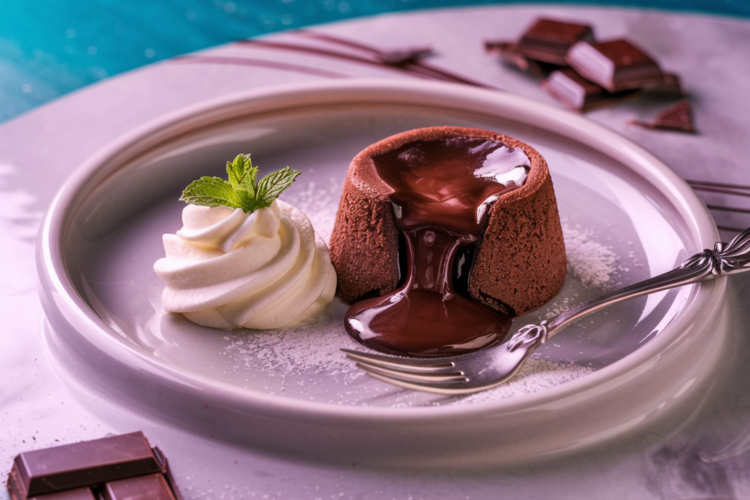
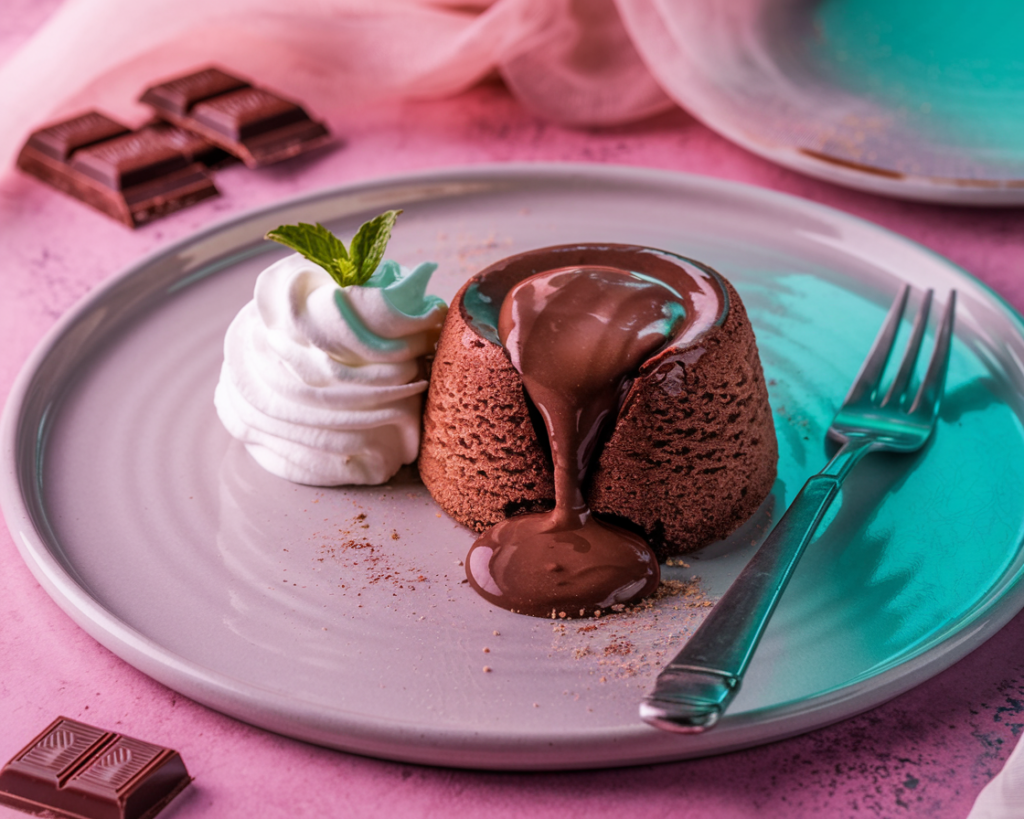
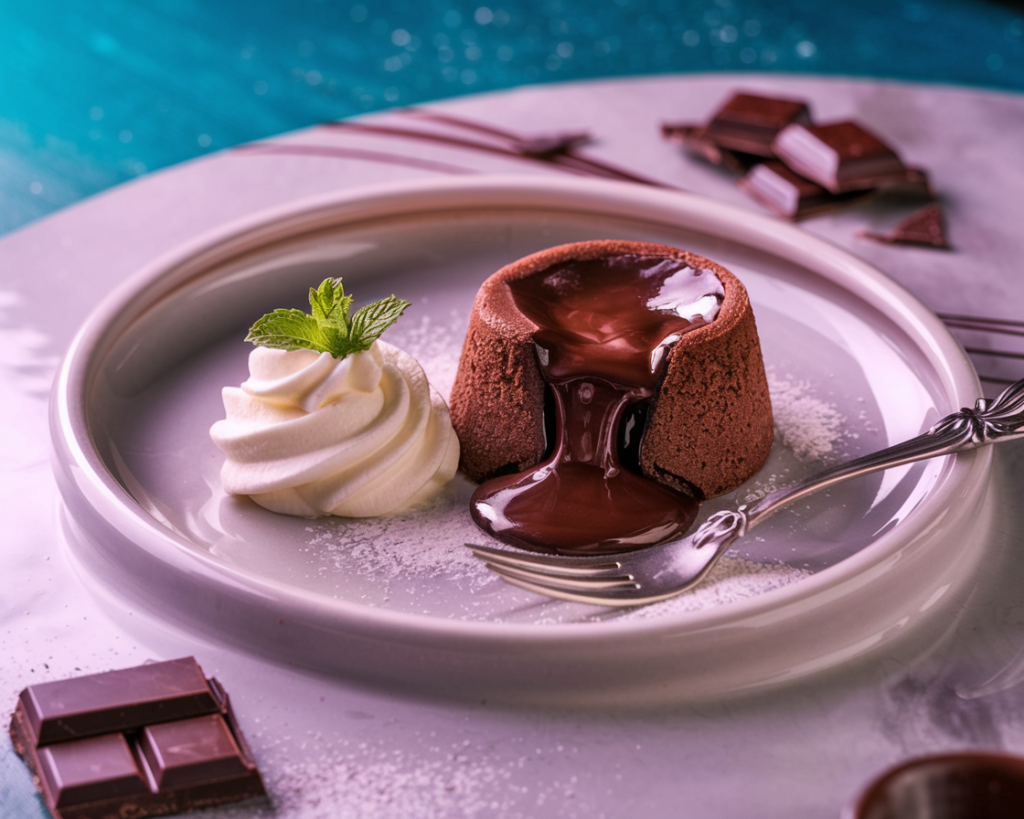
Enter the keto lava cake – a little bundle of chocolatey goodness that’s low-carb, quick to make, and absolutely satisfying.
This recipe checks all the boxes: it’s quick, requires minimal ingredients, and delivers a molten center that feels like a reward in itself. If you’re following a keto lifestyle or just looking for a lighter dessert option, this treat will hit the spot. Let’s get started on making this luscious dessert that feels way too fancy for how easy it actually is.
Why This Recipe Works
The beauty of this keto lava cake is how simple it is to make. You only need a few basic ingredients to create a dessert that feels luxurious. The cake bakes in under 15 minutes, and with just one spoonful, you’ll break into that rich, gooey center that makes it so special.
What’s more, this recipe is adaptable. Don’t have ramekins? You can use a muffin tin. Want to get creative? You can flavor the center with a touch of espresso or even a sprinkle of sea salt for a twist.
Now, let’s dive into the steps so you can experience this magic yourself.
Step-by-Step Guide to the Perfect Keto Lava Cake
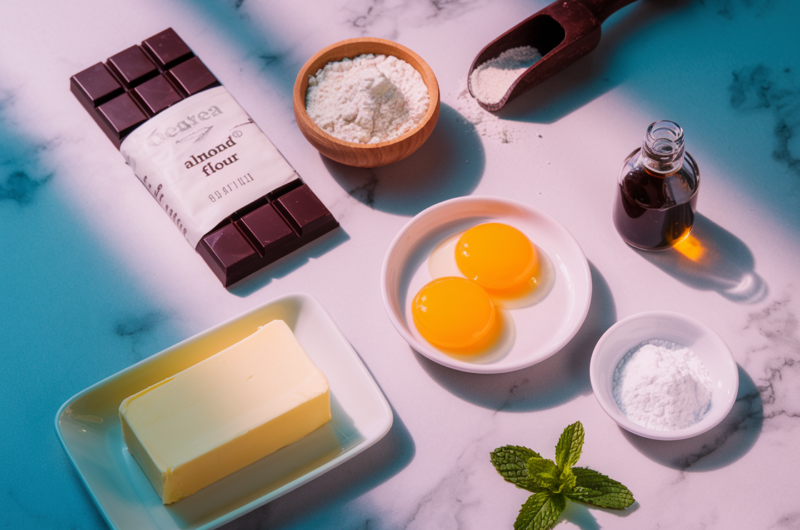
1. Gather Your Ingredients
Start by getting everything ready on your countertop. There’s nothing worse than scrambling for something mid-recipe, especially when timing is key for this dessert.
You’ll need some basic keto-friendly staples like almond flour, powdered sweetener, and unsweetened chocolate. And of course, don’t forget the butter, eggs, and a pinch of vanilla for that irresistible flavor.
2. Melt the Chocolate and Butter
This is where the magic begins. Combine your unsweetened chocolate and butter in a microwave-safe bowl. Microwave in 20-second intervals, stirring in between until smooth. Be patient; overheating can scorch the chocolate and ruin its silky texture. Once melted, let it cool slightly.
3. Whisk Together the Wet Ingredients
In a separate bowl, whisk one egg and one egg yolk with your powdered sweetener until the mixture becomes frothy and light. This step helps the cake achieve that delicate balance of a firm exterior and gooey interior.
4. Combine the Ingredients
Slowly pour the melted chocolate mixture into the egg mixture, stirring continuously. Add in almond flour and a splash of vanilla extract. Mix until you get a smooth, thick batter.
Here’s a tip: Be gentle when mixing. Overworking the batter can make the cake too dense.
5. Prepare Your Ramekins
Grease two ramekins generously with butter or cooking spray. This ensures the cakes will slide out easily after baking. Divide the batter evenly between the two ramekins.
If you’re feeling fancy, you can sprinkle a bit of unsweetened cocoa powder inside the ramekins after greasing them for a little extra flavor and flair.
6. Bake
Preheat your oven to 375°F (190°C). Place the ramekins on a baking sheet and pop them into the oven for 10–12 minutes. The key is to bake just long enough for the edges to set while the center remains molten. You’ll know they’re ready when the tops look firm but jiggle slightly when you tap the ramekin.
Pro tip: Every oven is different, so keep a close eye during the last few minutes.
7. Cool Slightly and Serve
Once out of the oven, let the cakes cool for 1–2 minutes. Carefully run a knife around the edges to loosen them. Place a plate over each ramekin and invert gently. The cake should slide out easily, revealing its soft, gooey center.
Dust with powdered sweetener or garnish with a few fresh berries for a pop of color and natural sweetness.
Freshness
Freshly Made is Best: Lava cakes are best enjoyed right after baking. The gooey center is at its peak when warm.
Storing Leftovers: If you have leftovers (though I doubt you will!), cover the ramekins with plastic wrap and refrigerate for up to 2 days.
Reheating: Reheat in the microwave for about 10–15 seconds. Be careful not to overheat, as this could solidify the molten center.
Flavor Variations to Try
- Espresso Kick: Add a teaspoon of espresso powder to the batter for a mocha twist.
- Salted Caramel Delight: Sprinkle flaky sea salt over the cakes before serving for a salty-sweet combo.
- Nutty Twist: Mix in a teaspoon of hazelnut or almond extract instead of vanilla for a nutty undertone.
Perfect Pairings
This lava cake pairs beautifully with a scoop of low-carb vanilla ice cream or a dollop of whipped cream. If you’re a coffee lover, try it alongside a steaming cup of black coffee or a cappuccino for the ultimate treat.
Pin This Recipe for Later!
Save this recipe for your next sweet craving. It’s quick, keto-friendly, and guaranteed to satisfy. Don’t forget to share with your friends – because dessert always tastes better when shared.
Keto Lava Cake: A Low-Carb Dessert Dream
Cuisine: American, KetoDifficulty: Easy2
servings10
minutes12
minutes250
kcalIngredients
Unsweetened chocolate 🍫
Butter 🧈
Egg 🥚
Egg yolk 🥚
Powdered sweetener (erythritol or monk fruit) 🍯
Almond flour 🌰
Vanilla extract 🍦
Nutrition Facts
- Calories: ~250
- Net Carbs: ~4g
- Protein: ~6g
- Fat: ~22g
Notes
- The Secret to Gooey Centers: The key to achieving the perfect molten center is the baking time. Keep a close eye on your lava cakes as they bake. The edges should look set, but the center should jiggle slightly when you tap the ramekin. Over-baking will result in a fully set cake, and you’ll miss out on that gooey surprise!
- Choose the Right Sweetener: Using a powdered sweetener like erythritol or monk fruit ensures a smooth batter and balanced sweetness. Granular sweeteners might leave a gritty texture, so avoid those for this recipe.
- Make It Dairy-Free: If you’re sensitive to dairy, swap out the butter with coconut oil or a plant-based butter alternative. Just be sure to use unsweetened chocolate that aligns with your dietary needs.
