
Memories of a Zesty Crowd Pleaser
I have fond recollections of football game days shared with friends, where we gathered around the living room cheering for our favorite teams. Among all the snacks that graced the coffee table, one dish always stole the spotlight: Buffalo Chicken Dip. Its fiery aroma and creamy texture tempted everyone to reach for a chip or a crunchy veggie stick. Over time, I started to wonder if there was a lighter way to create this dish without losing any of the bold flavor. After all, my fitness goals did not exactly line up with extra heavy snacks every weekend. Experimenting in the kitchen led to a version that offered the same tangy kick but with friendlier ingredients. Whenever I bring this healthier variation to parties, folks are amazed that something so creamy and spicy can fit into a more mindful eating approach. Today, I am excited to share how you can create your own batch of this dip. Get ready for a satisfying dose of heat, a creamy base, and enough protein to keep you feeling good.
Buffalo Chicken Dip is classic for good reason. It has the unmistakable tang of hot sauce and the comforting creaminess of cheese. Many times, this snack can be loaded with heavy dairy and processed ingredients. In the version below, we use items that maintain flavor while dialing down the calorie overload. You can serve it during big game days, at barbecues, or simply as a midday snack. Some folks even use it as a meal prep option because it pairs well with lettuce wraps or fresh veggies. I personally love to portion it out into small containers for a fast protein snack throughout the week. Let me walk you through how to put this recipe together step by step, then we will talk about creative flavor tweaks, storage ideas, and pairing suggestions that highlight all the best qualities of spicy chicken and creamy cheese.
Many people who try this dip are surprised at how it can be so rich and savory while still keeping a nod toward healthy ingredients. The secret is to select a few lighter items that do not sacrifice taste. Greek yogurt is one example of an ingredient that adds creaminess and protein. Reduced fat cheese helps lower the fat content but still melts beautifully in the oven. Chicken breast that is shredded or diced gives hearty texture and a protein boost. Along with tangy hot sauce and a few spices, you can create a dip that is luscious and comforting. This dish has made plenty of appearances at my gatherings, from summer potlucks to cooler fall weekends in front of the TV. Each time, the bowl is scraped clean before halftime. Now you can enjoy that same reaction from your friends and family. Let us begin with details on timing, calories, and portions, so you can plan when to serve this delight.
Time, Calories, and Servings
- Prep Time: 10 minutes
- Baking Time: 20 to 25 minutes
- Approximate Calories: 150 per serving
- Servings: 8
The quantities may shift a bit based on the exact brands of ingredients you choose. You could serve this dip in a communal baking dish or portion it into ramekins for personal servings. That choice is yours and depends on the occasion. If you go with personal ramekins, you may need to adjust the baking time slightly.
Step by Step Creation of Creamy Goodness
1. Shredding or Dicing the Chicken
Start by preparing your chicken. If you have leftover grilled or baked chicken breast, that works perfectly. Simply shred it using a pair of forks, or dice it into small chunks for a heartier texture. If you need to cook your chicken from scratch, season it lightly with salt and pepper, then bake or boil until cooked through. Shredded chicken can blend more seamlessly into the dip, while diced chicken can offer small bites that stand out in the creamy mixture. Pick the texture you prefer.
Tip: If you are short on time, grab a rotisserie chicken from the store and remove the skin. Shred the meat and you are set. This move can give you a head start, especially if you are rushing to get the dip ready before guests arrive.
2. Building the Creamy Base
In a large mixing bowl, combine reduced fat cream cheese, Greek yogurt, and a little ranch seasoning or your preferred blend of dried herbs (like onion powder, garlic powder, and dried parsley). Use a spoon or spatula to fold these together. If the mixture seems thick or difficult to stir, let the cream cheese come to room temperature first. Doing this allows everything to mix more easily. You can even place it in the microwave for short intervals, about 10 seconds at a time, to soften.
As you stir, watch how smoothly the yogurt and cream cheese unite. You are aiming for a velvety texture that will coat each piece of chicken. This stage can be fun if you love the process of mixing flavors, especially if your kitchen is filled with the aroma of the herbs.
3. Adding the Heat
Next, it is time for the hot sauce. Pick your favorite Buffalo style hot sauce. Some enjoy the classic type, while others like a variation that has a bit of sweetness. Start with a half cup of sauce, but feel free to adjust based on your preference for heat. Pour it into the bowl and gently stir so it merges with the creamy base. You will see the color shift from pale white to a light orange. If you love things extra spicy, add a dash of cayenne pepper or chili flakes. If you prefer a milder experience, tone it down by starting with less sauce. You can always add more later if you want to crank up the spice.
4. Folding in the Chicken and Cheese
Now that the base is prepared, toss in the shredded chicken. Use a spoon or spatula to fold it in thoroughly. You want each piece of chicken to be coated in the tangy mixture. Next, add about half of the shredded reduced fat cheddar cheese. Mix until everything is combined. The cheese will bring extra creaminess and that signature pull when the dip is served warm. By only adding half the cheese at this stage, you keep the other half for the top, creating a flavorful crust that bubbles up when baked.
5. Baking for a Bubbling Top
Select a baking dish that can hold your mixture. A small to medium casserole dish typically works well, but as mentioned earlier, you can use small ramekins if you want individual servings. Spoon the dip into the dish, spreading it in an even layer. Top it with the remaining cheddar cheese, sprinkling it evenly across the surface. This final cheese layer will form a golden finish in the oven.
Slide the dish onto the center rack of an oven preheated to 350 degrees Fahrenheit. Let it bake for around 20 to 25 minutes. You will know it is ready when the edges appear slightly brown and the cheese on top is melted and bubbly. The aroma that fills your kitchen will let you know you are on the right track. Resist the urge to pull it out too early. You want the dip to be warmed all the way through, making it extra creamy and enticing.
6. A Brief Rest
Once you see the cheese is golden and the edges have a slight sizzle, remove the dish from the oven. Let it rest for a few minutes. This pause helps the dip set, so it will not be runny when you scoop. Waiting might be tough if you are a fan of hot cheesy dishes, but your patience will be rewarded. During this time, you can prep any sides or garnishes you plan to serve with the dip.
Nutrition Facts for Informed Choices
- Protein: Approximately 15 grams per serving
- Carbohydrates: About 4 grams per serving
- Fats: Roughly 9 grams per serving
- Fiber: Around 1 gram per serving
Exact values will vary based on your specific ingredients, so check labels if you track macros closely. Some folks like to sprinkle extra seasonings or skip certain items. For example, if you use full fat cheeses or a different cut of chicken, the numbers will shift slightly.
Tips for Maximum Freshness and Storage
This dip is best enjoyed right out of the oven, but you can store leftovers in the fridge for about three days. Place the remainder in a sealed container, and when you want to reheat, scoop what you plan to eat into a microwave friendly dish. Warm it in short intervals and stir occasionally so it heats evenly. If you do not have a microwave or prefer an oven reheat, cover the dish with foil and place it in a low temperature oven until it is hot again.
If you are making this dip in advance for a party, you can assemble everything up to the baking step. Store it overnight in the fridge, then pop it in the oven before guests arrive. This approach saves time on the day of the event. It is also a handy tip for those who plan big meals or gatherings and like to prep in phases.
Personal Take on Flavor Additions
For those who love to experiment, a few extra ingredients can bring fresh twists to this dip. Try mixing in a spoonful of plain Greek yogurt to make the dip tangier. You might also add minced garlic or a teaspoon of onion powder for a savory hint. If you want to sneak in more vegetables, stir in finely diced celery or carrots before baking. The veggies will soften in the hot, creamy mixture. Another option is to garnish with thinly sliced green onions or fresh parsley after the dip emerges from the oven. These touches can add a little color and a brighter flavor.
You can also play with different cheeses. A sprinkle of feta on top might bring a sharp, salty component. If you like smoky notes, mix in a bit of smoked paprika or use a smoked cheddar. Combining small additions is a fun way to tweak the flavor to fit your mood or the preferences of your crowd.

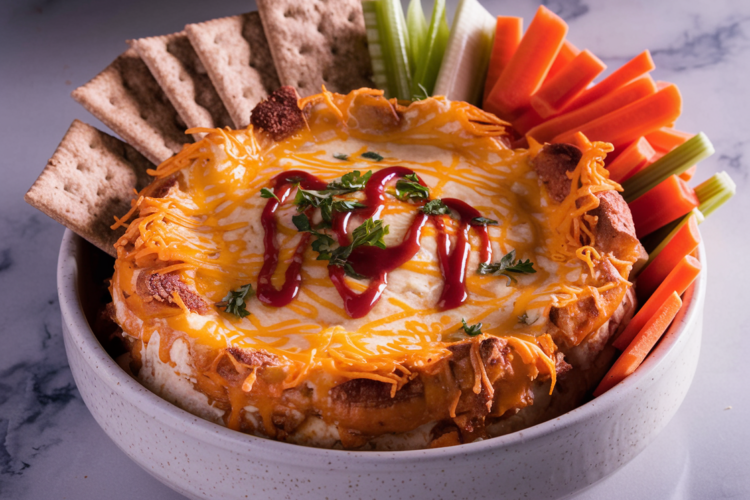
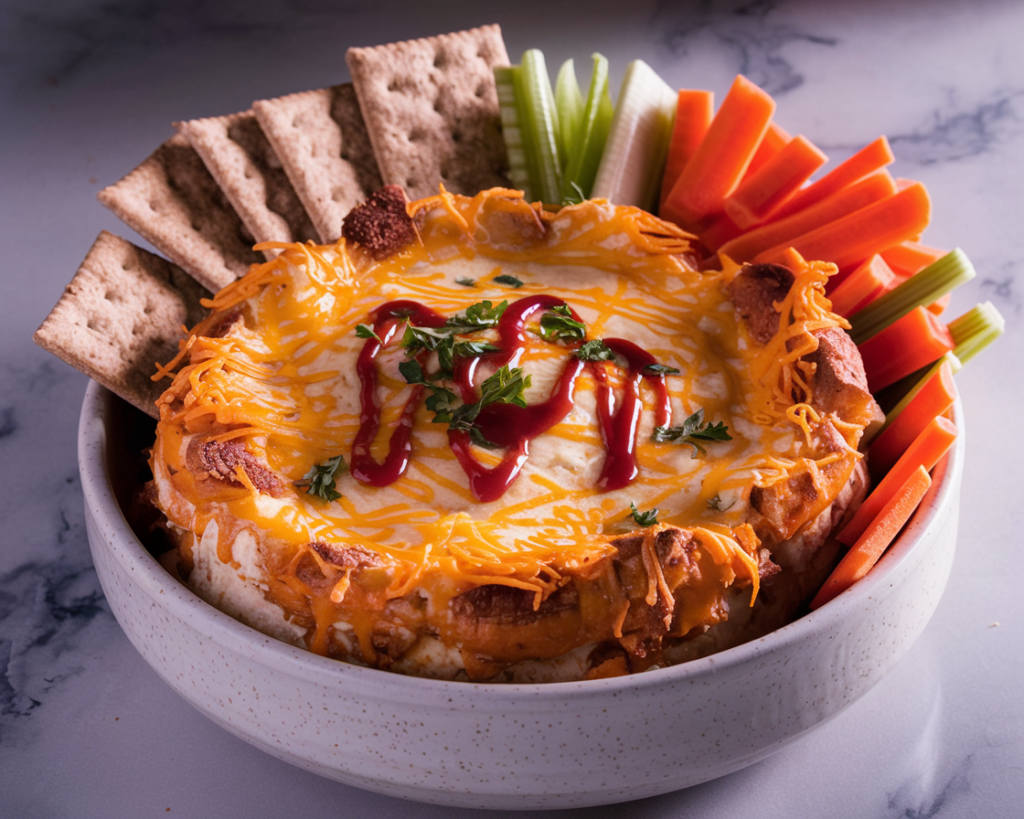
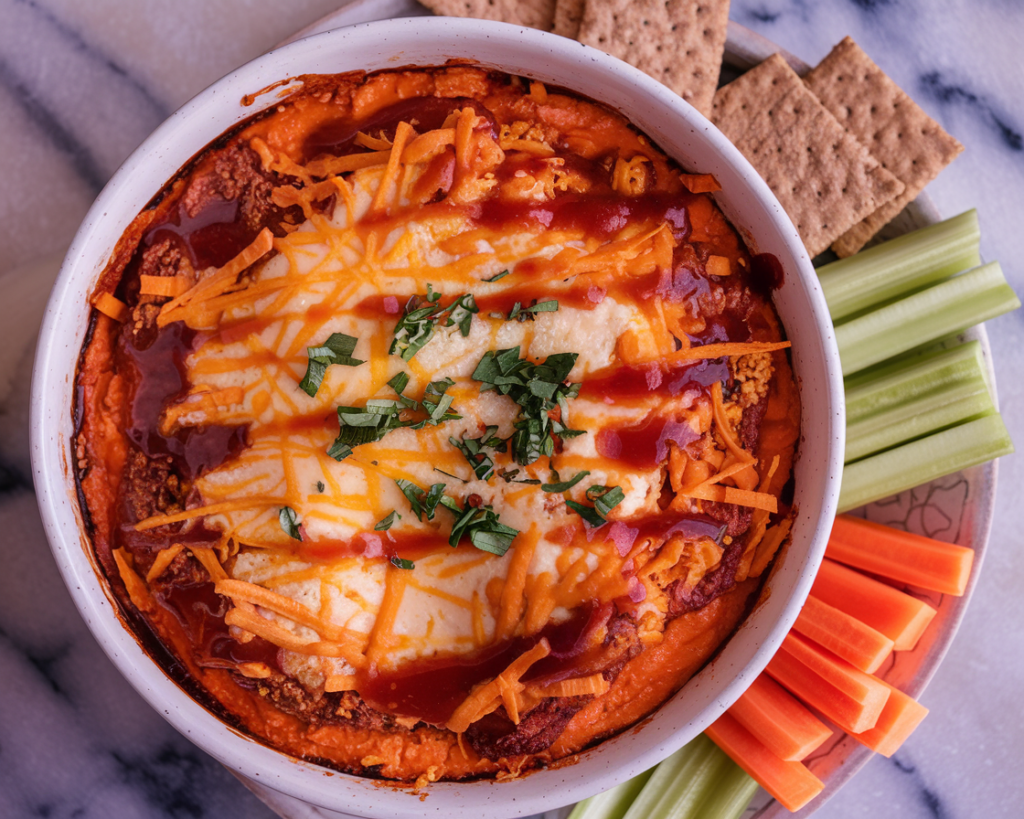
Pairing Suggestions for a Festive Table
The classic go to is to serve Buffalo Chicken Dip with crackers or tortilla chips. If you are aiming for a healthier approach, fresh veggies like celery sticks, carrot sticks, and bell pepper strips make an excellent choice. They bring extra color and crunch to your spread. If you want more of a meal style approach, use the dip as a filling for lettuce wraps. Spoon it down the center of a crunchy lettuce leaf and roll it up. This quick wrap is fantastic for lunch or a light dinner.
Another idea is to place some dip on top of a small portion of rice or cauliflower rice to create a spicy chicken bowl. You can add toppings like diced tomatoes, shredded lettuce, or extra ranch dressing. If you prefer the flavors of bread, toasted whole wheat pita triangles pair nicely, especially if you brush them with olive oil and a sprinkle of garlic powder before toasting.
For those who enjoy a sweet treat after indulging in a spicy appetizer, consider checking out any chocolate recipes on this site. The smooth richness of chocolate can balance the heat from the dip. It is a double treat that covers both savory and sweet cravings.
Pin This Recipe for Later
This Buffalo Chicken Dip might be your new must have at gatherings, potlucks, and fun gatherings with friends. If you are a fan of quick, protein friendly snacks, save this recipe to your board or bookmark it. It will be ready whenever you have a craving or need an appetizer that sparks conversation. Do not forget to check out our free downloadable Meal Planner too. It includes plenty of ideas that align with this type of healthier dish, so you can coordinate your weekly menus in a smarter way.
Healthy Buffalo Chicken Dip
Course: SnacksCuisine: AmericanDifficulty: Easy8
servings10
minutes20
minutes150
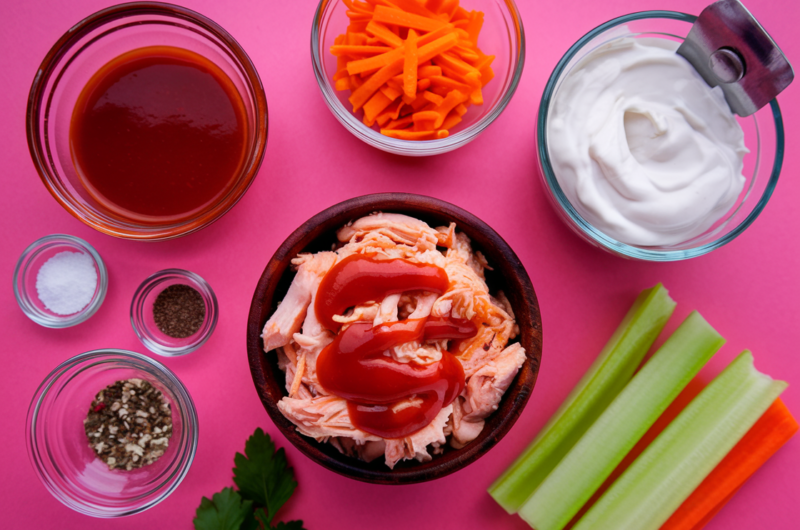
kcalIngredients
Cooked chicken breast, shredded or diced (2 cups) 🍗
Reduced fat cream cheese (8 ounces, softened) 🧀
Greek yogurt (½ cup) 🍶
Buffalo style hot sauce (½ cup) 🌶️
Reduced fat cheddar cheese (1 cup, shredded) 🧀
Optional: Ranch seasoning (1 tablespoon) or dried herbs 🌿
Salt and pepper to taste 🧂
Final
- Enjoy sharing this dip with friends, or keep it all to yourself for multiple snack sessions. It is a reminder that favorite comfort foods can still fit into balanced eating when you adjust the recipe slightly. You get the best of both worlds: a bold Buffalo kick and a lighter spin that keeps the party going long after that final whistle. Take a scoop, pile it onto a crunchy veggie or chip, and relish that zesty, creamy goodness.
Notes
- Make it spicier 🔥 Add extra buffalo sauce or a pinch of cayenne for more heat.
- Dairy free option 🥑 Swap cream cheese & yogurt for blended cashews or dairy free alternatives.
- Meal prep friendly 🍱 Store leftovers in an airtight container for up to 4 days; reheat in the oven or microwave.
