
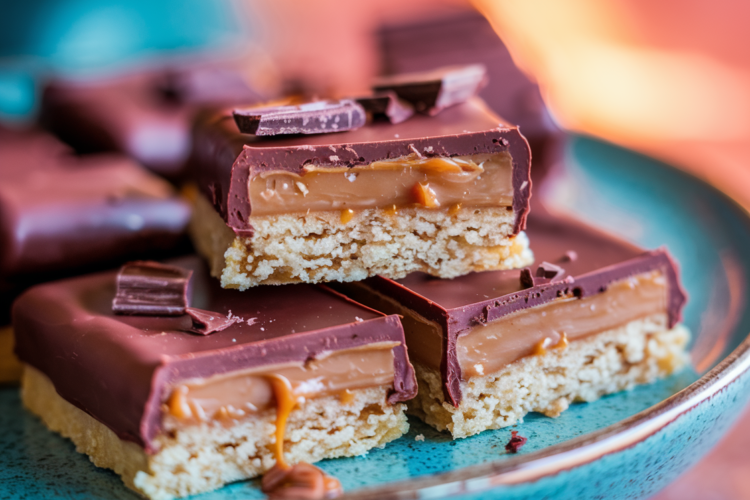
Growing up, I always loved the crisp cookie and gooey caramel of a Twix bar. Later on, when I decided to focus on higher protein and gluten free options, I thought my favorite bars would be off the table. After experimenting, this recipe was born. It has a crunchy base, a creamy caramel layer, and a chocolate coating that rivals the familiar original. Enjoyable any time you want a sweet treat that also aligns better with certain dietary goals.
Prep Time Cooking Time Approximate Calories And Servings
• Prep Time 20 minutes (plus chilling)
• Baking Time 10 to 12 minutes for the cookie layer
• Approximate Calories ~100 per bar
• Servings 8 to 10 bars
Step By Step Directions
1 Assembling The Cookie Layer
Gather your favorite gluten free flour or flour mix. Combine it in a bowl with a scoop of your chosen protein powder and a small amount of sweetener. Stir in a bit of melted coconut oil and an egg until it forms a dough that is not too sticky. If it seems crumbly, add a splash of milk or water. Press this mixture into a parchment lined baking dish, aiming for a thin layer similar to a cookie crust. Bake at 350 F for about 10 to 12 minutes, or until lightly golden. Remove and let cool.
2 Making The Caramel Layer
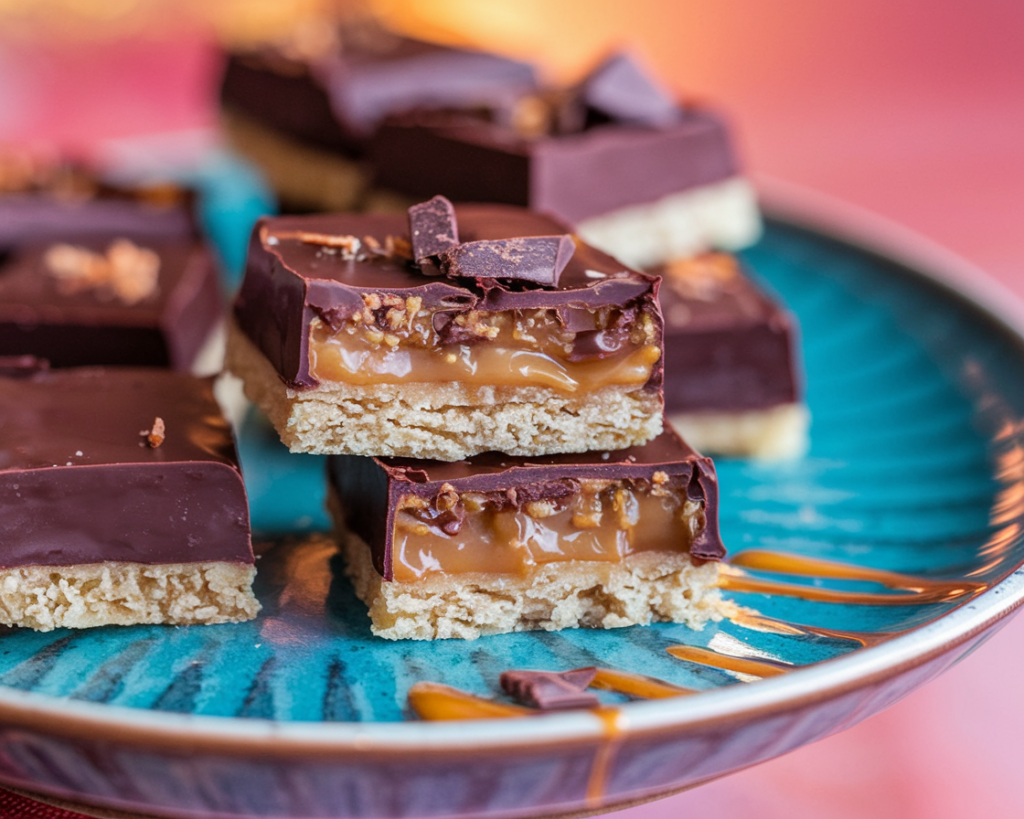
In a small saucepan over low heat, combine a pat of butter with a sugar free sweetener suitable for caramelizing. Keep it at a gentle simmer, stirring occasionally, until it starts to turn a golden shade. At that point, whisk in a touch of heavy cream or coconut cream. Let it thicken to a smooth sauce. Take the pan off the heat and let the caramel cool slightly. Once it is still fluid but not piping hot, pour it over the cooled cookie layer. Spread it carefully using a spatula. Place the pan in the fridge to chill for 15 to 20 minutes.
3 Coating With Chocolate
Melt sugar free chocolate chips and a small spoonful of coconut oil in the microwave or over a double boiler style setup. Warm in short intervals and stir frequently to avoid scorching. Once melted and glossy, remove your chilled bars from the fridge and pour the chocolate on top of the caramel. Tilt the pan gently to help the chocolate cover everything or use a spatula to spread it evenly. Return the dish to the fridge to let the chocolate set completely.
4 Slicing And Serving
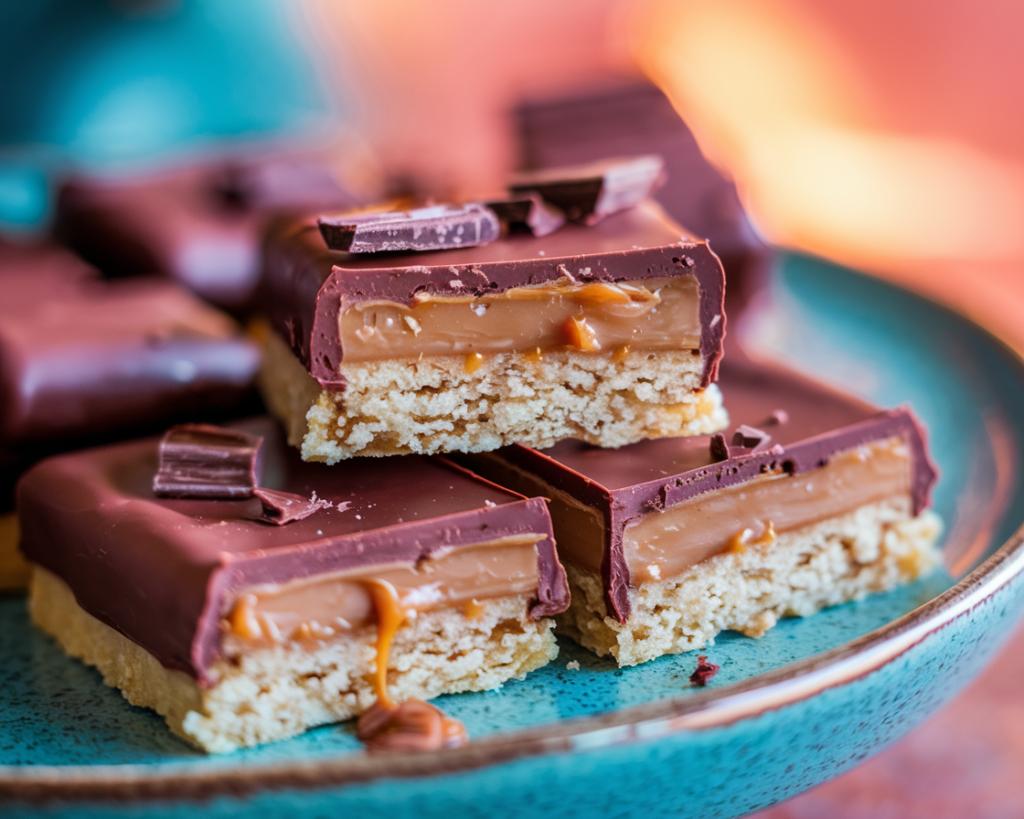
After the top layer is firm, lift the entire treat out by the edges of the parchment. Set it on a cutting board. Use a sharp knife to slice into bar shapes. If the chocolate is very firm, allow it to sit at room temperature for a minute or two before cutting to prevent cracks. These bars keep well in a sealed container in the fridge. For a softer texture, leave them out at room temperature for a few minutes before enjoying.
Nutrition Facts Per Bar
• Calories ~100
• Protein ~5 g
• Carbs ~6 g net
• Fat ~6 g
• Fiber ~2 g
These estimates can vary based on the flour, protein powder, and other specific ingredients used. Adjust quantities to achieve the macros you want.
Tips For Maximum Freshness And Storage
- Cool The Cookie Layer
Let your cookie base cool fully before pouring on the caramel so the layers stay distinct. - Cutting Neatly
Warm the knife under running water, then dry it. This can help slice the chilled chocolate neatly. - Longer Storage
These bars can be frozen. Thaw them in the fridge overnight when you are ready to snack again.
A Personal Take On Flavor Additions
I sometimes add a pinch of salt to the caramel for a salty sweet combination. Another option is sprinkling chopped nuts on top of the caramel before adding the chocolate. If you are a fan of deeper chocolate flavor, stir a bit of cocoa powder into your cookie layer or use a darker sugar free chocolate variety.
Pairing Suggestions With Other Recipes
Try serving these bars after a light meal of zucchini noodles and chicken. The rich flavor contrasts nicely with a lean dinner. If you crave extra chocolate, you could also check out a protein brownie recipe on our site. Tasting both together can be a fun way to sample different cocoa profiles.
Pin This Recipe For Later
If this Gluten Free Protein Twix style treat intrigues you, save it to your digital board. Add a note on which protein powder worked well or the type of caramel sweetener you liked best. Next time you are in the mood for a crunchy caramel chocolate creation, you will be all set to prepare another batch.
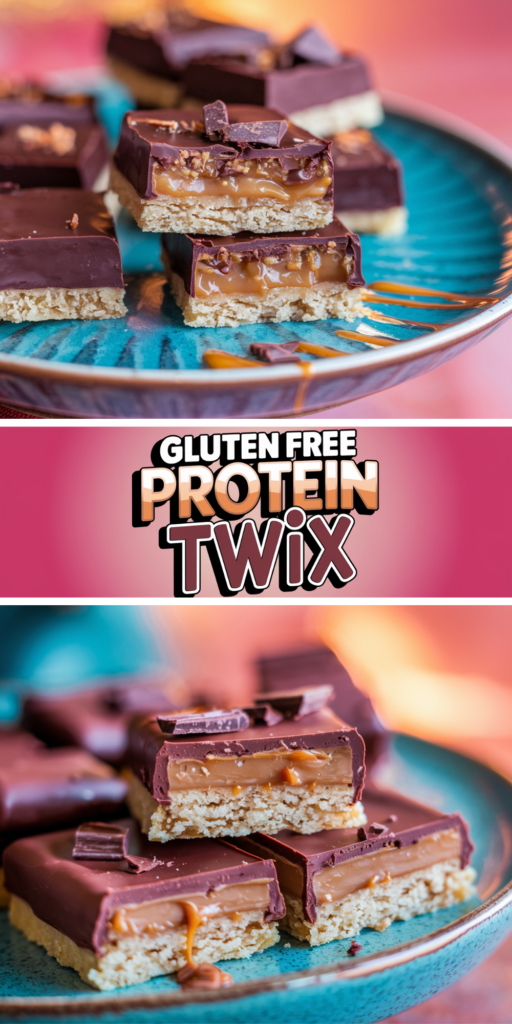
Gluten Free Protein Twix
Course: SnacksCuisine: AmericanDifficulty: Easy8-10
servings20
minutes12
minutes100
kcalIngredients
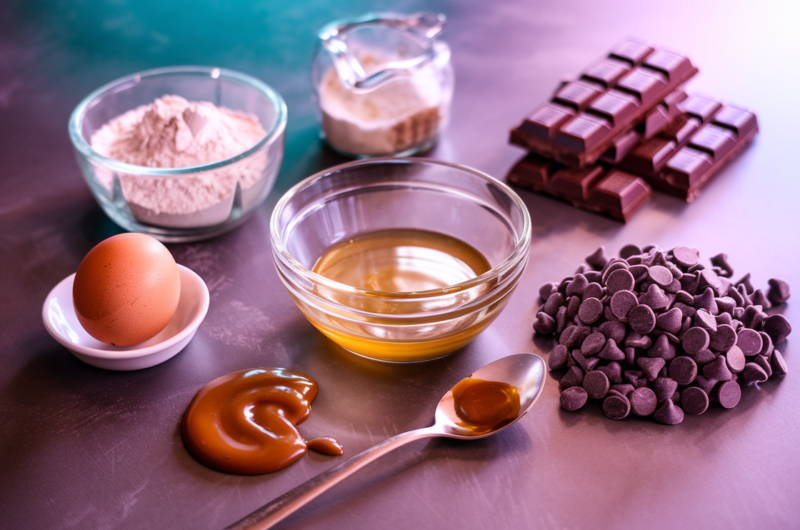
Gluten free flour one half cup
Protein powder one scoop
Sweetener of choice (depends on how sweet you like it)
Egg one
Coconut oil two tablespoons melted (plus extra for chocolate layer)
Butter one tablespoon for caramel
Sugar free sweetener for caramel two tablespoons
Heavy cream or coconut cream two tablespoons
Sugar free chocolate chips about one cup
Info
- With this recipe in your arsenal, you can treat yourself to something reminiscent of a classic bar without going for the standard version. Crisp cookie base meets gooey caramel and a smooth chocolate top, all in a gluten free and protein friendly format. Enjoy each bite.
Notes
- ✅ Customize Sweetness: Adjust sweetener to your taste for the perfect balance. 🍯
- ✅ Chocolate Tip: Melt chocolate with a little coconut oil for a smooth, glossy coating. 🍫
- ✅ Storage: Keep in the fridge for a firmer texture or freeze for a chewy Twix style bite! ❄️
