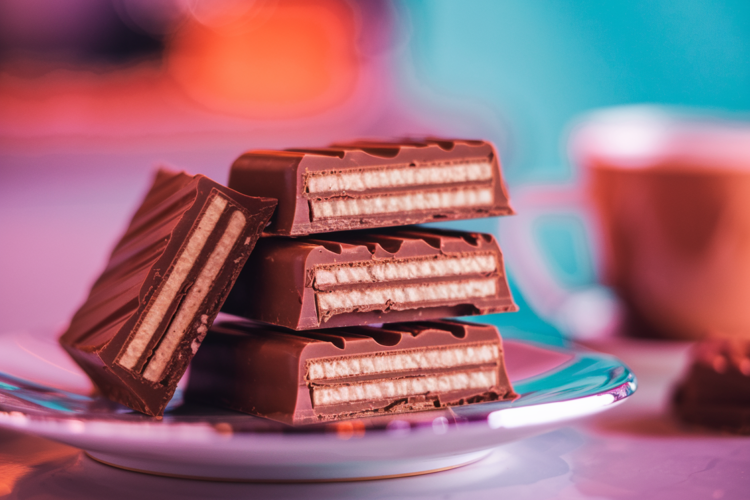
Craving the crisp crunch and smooth chocolate taste of a Kit Kat bar but prefer creating it in your own kitchen? This homemade Kit Kat chocolate recipe captures the signature layers of crunchy wafers and rich chocolate without complicated steps. It is perfect for anyone who wants to explore a do it yourself candy bar that feels as satisfying as the original. With simple pantry ingredients and a bit of creativity, you can master this treat and enjoy it fresh any time.
WHY MAKE KIT KAT CHOCOLATE AT HOME
- You have control over the ingredients, which can be helpful if you want to modify sweetness or opt for higher quality chocolate.
- It can be a fun kitchen project to do with family or friends, allowing you to explore new candy making skills.
- Homemade Kit Kat bars can be customized with different wafer flavors or toppings, adding a personal twist that store bought versions do not offer.

 Pin
Pin
QUICK FACTS
Prep Time: 15 minutes
Chill Time: 30 minutes or more
Servings: About 8 to 10 bars, depending on size
Approximate Calories: 200 per bar (will vary based on chocolate brand and wafer type)
STEP BY STEP INSTRUCTIONS
- PREPARE YOUR WORK AREA
Clear some space on your countertop and line a baking tray with parchment paper or a silicone mat. This tray will be used for assembling and chilling your bars.
Tip: Keep your wafer cookies nearby in an organized stack to make layering easier. - MELT THE CHOCOLATE
Place the chocolate in a microwave safe bowl and heat in short intervals of about 20 seconds, stirring between each session until fully melted. You can also use a double boiler on the stovetop. If you want a smoother texture, add a small spoonful of coconut oil and stir.
Tip: Do not overheat the chocolate. Stop microwaving when a few lumps remain, then stir to let the residual heat melt everything. - FORM THE FIRST CHOCOLATE LAYER
Pour a thin layer of melted chocolate onto the lined tray, shaping it into a rectangle that will match the size of your wafer cookies. Use a spatula to smooth the surface. Place this tray in the refrigerator for a few minutes to allow the chocolate to begin setting. - ADD THE WAFER LAYERS
Remove the tray from the refrigerator once the bottom layer has slightly hardened. Arrange a layer of wafer cookies on top, leaving minimal gaps. Press gently to ensure they stick to the chocolate. If you want multiple wafer layers, spoon more melted chocolate on top, spread it evenly, and then add another layer of wafers. Continue until you reach your preferred thickness. - COVER WITH FINAL CHOCOLATE LAYER
Pour or spoon the remaining melted chocolate over the top wafer layer. Make sure to cover the wafers completely so there are no visible gaps. Smooth with a spatula and try to keep the thickness uniform for a polished result. - CHILL AND SLICE
Return the tray to the refrigerator for at least 30 minutes, or until the chocolate is fully set. Once hardened, remove the block from the tray and slice it into bar shapes. A warm knife can help create clean edges. If needed, run the knife under hot water, wipe it dry, and then cut.
 Pin
Pin
TIPS FOR SUCCESS
- Maintain a steady pace when assembling. If your chocolate cools too much, you can gently reheat it in the microwave or over hot water.
- If you prefer individual wafer bars, consider dipping each cookie layer in chocolate before stacking. This method can be a bit more time consuming but gives each bar a thorough chocolate coating.
- Store the finished bars in an airtight container in the refrigerator if your kitchen is warm, or at room temperature in cooler conditions. They can remain crisp for about one week.
 Pin
Pin
FLAVOR AND PRESENTATION IDEAS
- Drizzle contrasting chocolate over the top, such as white chocolate stripes on milk chocolate bars.
- Add chopped nuts, shredded coconut, or bits of freeze dried fruit between wafer layers for extra texture.
- Experiment with flavored wafer cookies, like strawberry or vanilla, to introduce a twist on the classic taste.
PAIRING SUGGESTIONS
- A cup of coffee or espresso is a perfect complement to homemade Kit Kat chocolate bars, balancing sweet notes with a slight bitter edge.
- Serve them alongside fresh berries for a colorful dessert platter, mixing the bright fruit flavors with rich chocolate crunch.
ENJOY YOUR HOMEMADE KIT KAT CHOCOLATE
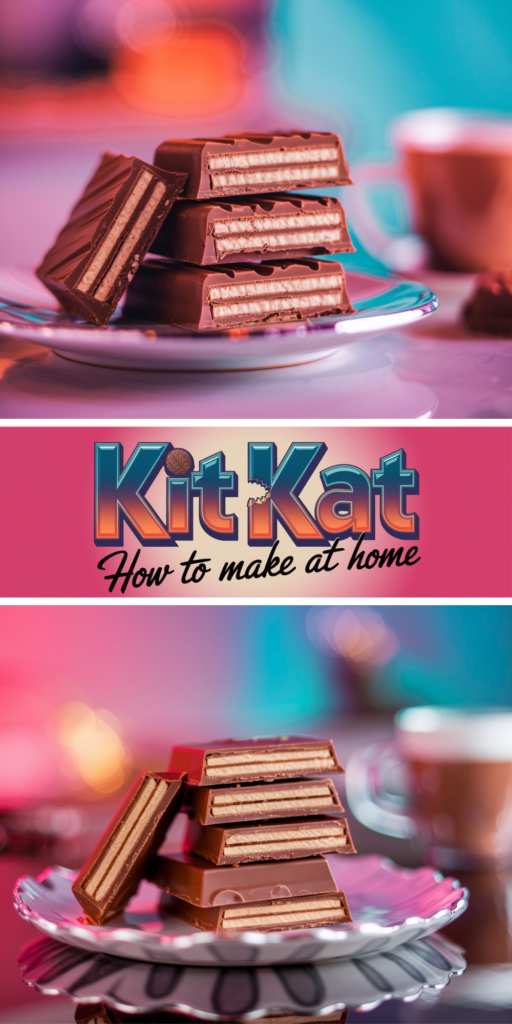
Now that you know how to make Kit Kat chocolate at home, feel free to share your creation with friends or family. The signature crunch is even more special when you realize it came from your own kitchen efforts. Pin or bookmark this recipe so you can revisit it whenever you crave that iconic snap and smooth chocolate taste. Happy candy making!
How To Make Kit Kat Chocolate At Home
Course: DessertCuisine: AmericanDifficulty: Easy8-10
servings15
minutes30
minutes200
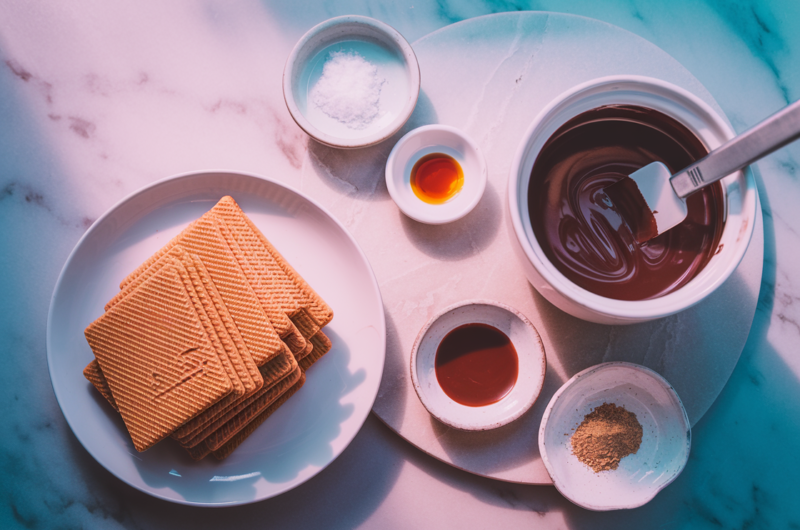
kcalINGREDIENTS YOU WILL NEED
Wafer cookies: Choose sugar wafers or plain wafer sheets. You will need enough to create several layers, depending on how tall you want your bars.
Chocolate of your choice: Milk chocolate, semisweet, or dark chocolate. Plan on about 8 to 10 ounces, which you can adjust to your preference.
Optional flavor additions: A pinch of salt, a drop of vanilla extract, or a small amount of coconut oil to make the chocolate smoother.
Equipment: Baking tray lined with parchment paper or a nonstick silicone mat, microwave safe bowl or double boiler, spatula, and a knife.
ENJOY 🙂
Notes
- To get a glossy chocolate finish, temper the chocolate by melting ¾ first, then stirring in the remaining unmelted chocolate. 🍫
- To get a glossy chocolate finish, temper the chocolate by melting ¾ first, then stirring in the remaining unmelted chocolate. 🍫