
Memories of Crispy Comfort Foods
I recall a time when my workout crew and I were craving something that combined fun flavors and a satisfying crunch, yet stuck to a low carb plan. One of my friends joked that she had mastered the art of resisting regular fries, but she missed them at every meal. That moment inspired me to experiment with a healthier option we could share after a weightlifting session. It was an exciting moment when we finally sampled homemade fries that aligned with our goals. In fact, I remember feeling a little proud knowing we had an answer for that sneaky fried potato longing without sending our daily macros off track.
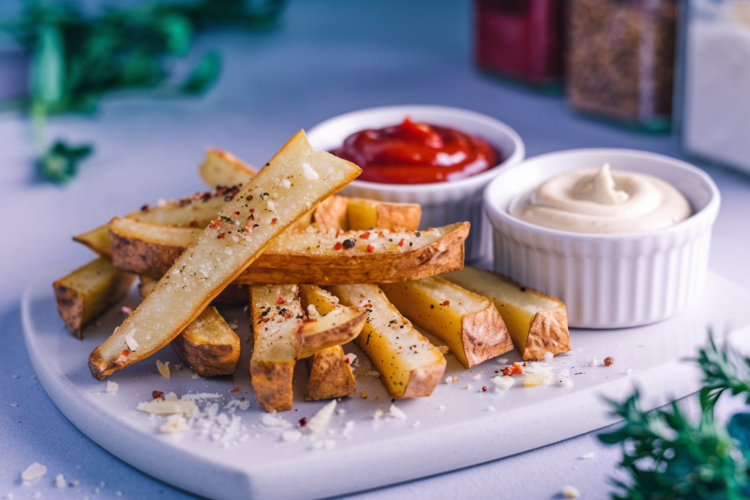
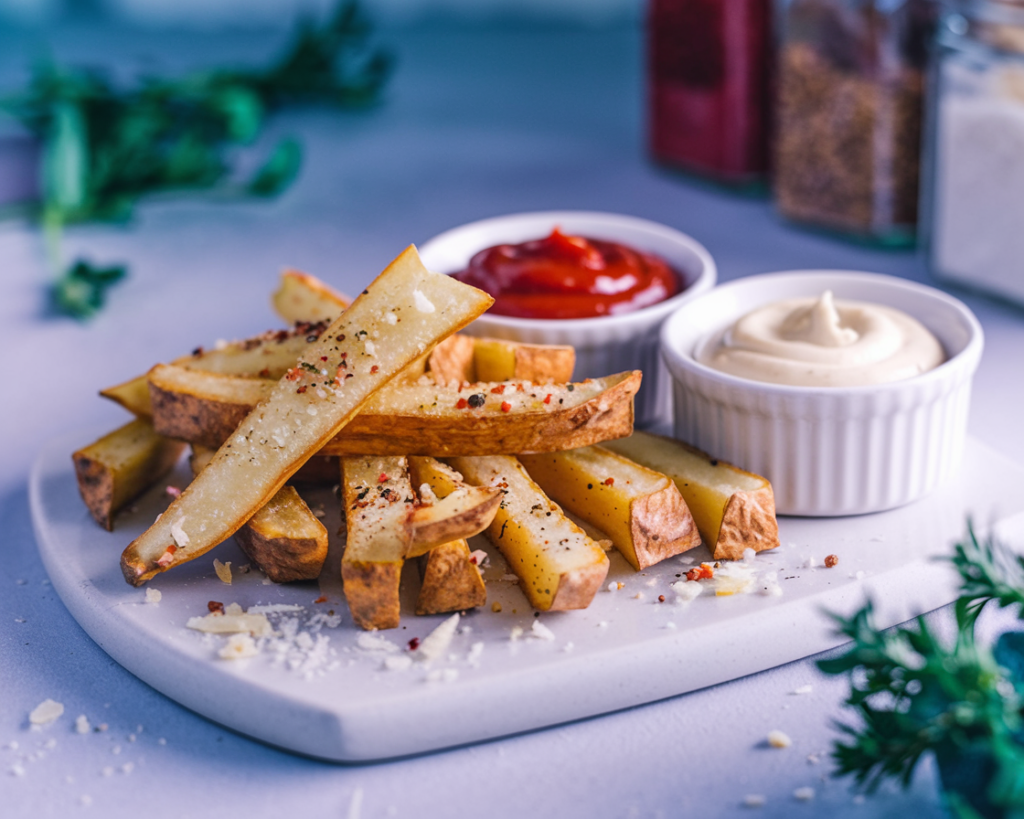
There is something comforting about biting into a fry with a golden exterior and a soft interior. It is a familiar treat, especially when combined with a dipping sauce like sugar free ketchup or spicy aioli. While it can be easy to default to starchy varieties, there are alternatives that can match the crunchy texture without piling on the carbs. Making your own version at home adds the bonus of controlling ingredients and adjusting flavors. You can spice them up with Cajun seasoning or keep them simple with salt, pepper, and perhaps a dash of garlic powder.
I have found that making a plate of these is perfect for movie nights, casual get togethers with gym buddies, or solo dinners when you long for that “something crispy” to go along with a grilled chicken breast. They are also a great conversation starter at gatherings. People are often shocked to find out they are made without standard potatoes. In the spirit of sharing my culinary experiments, let me walk you through the entire process, from prep times to personal tips on making each fry a crunchy success.
Creating Your Crunch Step by Step
First, pick a workable space in your kitchen. A tidy counter helps you feel organized, especially if you plan to prepare these fries right before guests arrive. Begin by taking out your chosen low carb base. Many people use rutabaga or jicama. Rutabaga has a pleasant balance of sweetness and earthy flavors, while jicama tends toward a lighter, fresher taste. Either way, peel away the skin with a solid vegetable peeler, taking care to remove any waxy or tough areas. If using jicama, you might notice a fibrous texture that calls for a sharp knife to slice it into sticks.
Once you have your sticks, grab a bowl large enough to let you toss them in any seasonings. At this point, I like to pat them dry with a paper towel. Removing excess moisture contributes to a better final texture. Nobody wants to bite into a soggy fry. After that, sprinkle in your preferred seasonings. A pinch of paprika can offer a gentle heat, while garlic powder and onion powder can deliver a savory touch. Use just enough olive oil or avocado oil to coat the fries lightly. This helps each stick crisp up as it cooks.
When it comes to cooking methods, you have a few choices. An oven is the standard option and does a good job. Preheat it to around 400 degrees Fahrenheit. Spread your fries out on a baking sheet lined with parchment paper, making sure they are not crowded. Overlapping can lead to steaming instead of crisping. Set a timer for about 15 minutes. Then use a spatula to turn them so all sides receive direct heat. Let them cook for another 10 to 15 minutes or until you spot the edges turning a lovely golden color.
If you have an air fryer, this is also a great tool. The hot circulating air helps lock in a crunchy exterior without requiring too much oil. You can often cook them at around 380 degrees Fahrenheit for 20 to 25 minutes, shaking the basket a few times so each fry crisps evenly. I have found that the air fryer method often gives a slightly crunchier result in a shorter time frame. Regardless of your chosen method, it is wise to keep an eye on them near the end to avoid over browning.

Nutrition Facts
Protein: Approximately 2 to 3 grams per serving
Fat: Around 7 to 8 grams per serving
Carbs: Approximately 8 net grams per serving (depending on your chosen vegetable)
Fiber: 3 to 4 grams per serving
These numbers can vary a bit depending on the size of your fries and the specific vegetable you choose. Always read labels for any additional seasonings or oils you add.
Tips for Maximum Freshness and Storage
If you plan to make a big batch, you can keep them crisp for a bit by arranging them on a wire rack right out of the oven or air fryer. This setup helps air circulate underneath, preventing the underside from turning limp. If you have leftovers, store them in a container in the fridge for up to three days. To reheat, a quick session in the air fryer can restore some of the crunch. If you only have a microwave, use short bursts and monitor the texture. You will not get the same crispiness, but they will still taste good.
If you anticipate freezing them, consider par cooking them first. Par cooking means cooking them just enough that they begin to soften, but not finishing the browning process. Then, let them cool completely, place them in a freezer bag, and remove as much air as possible. They can last for about a month in the freezer. When you are ready to eat, simply pop them in the oven or air fryer until the edges become golden again.
Experimenting With Flavors
These fries can take on a variety of personalities depending on the spices you use. Some might like a classic approach with salt and pepper. Others may enjoy blending smoked paprika, cumin, or a few chili flakes for a bolder punch. You could even sprinkle a bit of grated Parmesan cheese during the last few minutes of cooking for a slightly salty, cheesy coating. Remember that adding cheese will raise the fat content, so it is good to keep that in mind if you have specific macro targets.
Pairing Suggestions With Other Recipes
If you are looking for a companion piece to a hearty gym day meal, consider matching these fries with our Keto Turkey Burger from this site. The softness of the burger patty, combined with your choice of low carb bun or lettuce wrap, pairs nicely with these crunchy fries. For those who love something sweet afterward, there is also a section dedicated to chocolate treats. You could try a mini chocolate mug cake if you want a fast treat without blowing your macro count. The warm chocolate and crisp fries can feel like a small feast without sacrificing your fitness progress.
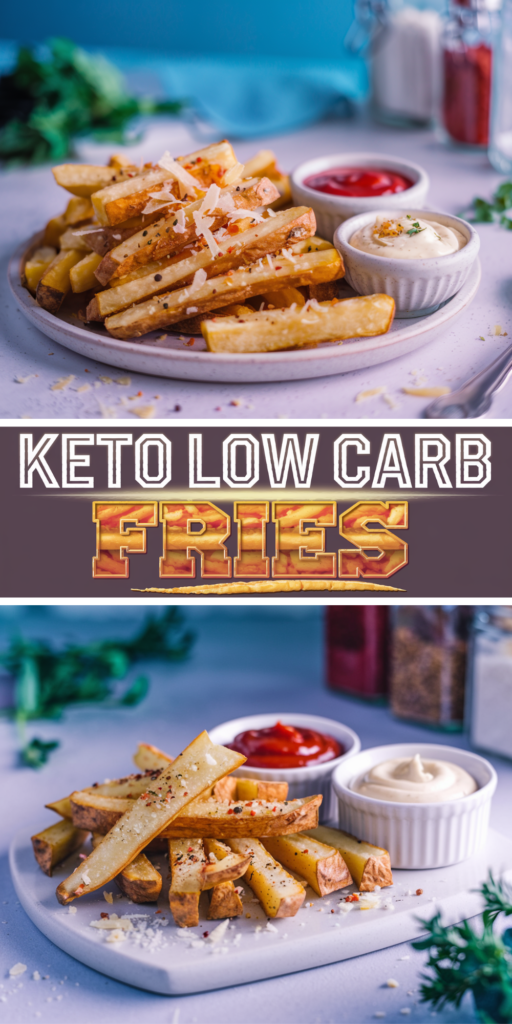
Pin This Recipe For Later
If you enjoyed this approach, save it to your favorite board or bookmark the link for future reference. It is handy for times when you crave a crispy side dish that does not pile on the usual carbs. Perfect for casual gatherings or your next tailgate party, these fries might become your new favorite way to handle that fried snack longing. For more helpful tips and meal ideas, check out our free downloadable Meal Planner. It has plenty of suggestions to keep your weekly nutrition balanced and exciting.
Keto Low Carb Fries
Course: SidesCuisine: KetoDifficulty: Easy4
servings15
minutes25
minutes120
kcalIngredients
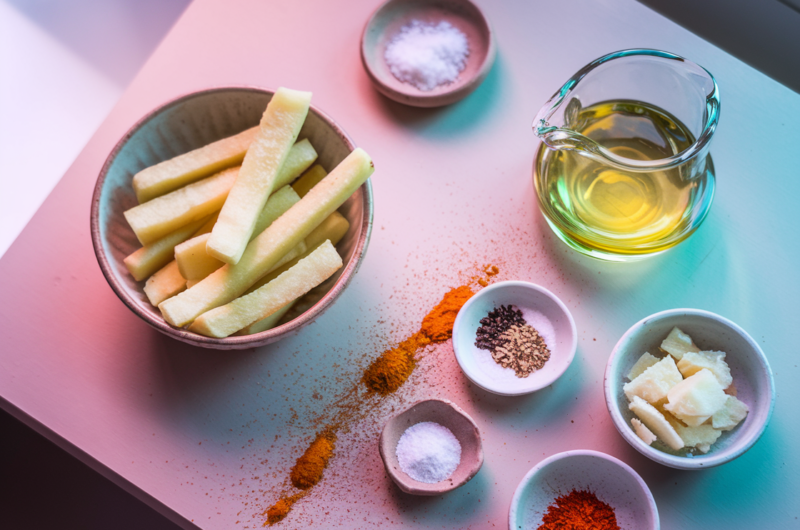
Rutabaga or jicama (about 1 pound, peeled and cut into sticks)
Vegetable oil such as olive or avocado (2 tablespoons) 🥑
Salt (about 1 teaspoon) 🧂
Pepper (½ teaspoon) 🌶️
Garlic powder (½ teaspoon) 🧄
Paprika (½ teaspoon) 🌶️
Optional: Chili flakes, onion powder, or Parmesan cheese 🧀
Info
- These fries are a satisfying addition to your low carb menu. They offer a way to celebrate that crunchy, salty craving without drifting off your nutrition plan. Give this recipe a try the next time you gather with friends or simply need a quick side dish for your personal dinner. It may just become a new staple in your kitchen. Enjoy!
Notes
- For extra crispiness, soak rutabaga or jicama sticks in cold water for 30 minutes before baking. Pat dry thoroughly before seasoning!
