
I still remember the comforting scent of fresh sourdough in my grandmother’s kitchen, the tang of the yeast, the warmth from the oven, and the way each slice crackled under a bit of butter. When I shifted to a low-carb lifestyle, I thought those days of enjoying sourdough were gone. But after some experimentation, I learned there’s a way to get the essence of sourdough while maintaining keto friendly macros. This special edition recipe draws on the tangy characteristics we know and love, minus the bulk of carbs found in traditional wheat based loaves. The key is to mimic the fermentation flavor and structure using a combination of low-carb flours, a specialized starter, and patience. If you’re a bread lover wanting that classic tangy crumb, this keto sourdough approach might bring back that comforting experience, one slice at a time.
Prep Time, Ferment Time, Baking Time, and Servings
- Prep Time: 25 minutes (active)
- Ferment Time: 12–24 hours (for flavor development)
- Baking Time: ~45 minutes
- Servings: 10–12 slices
Step-by-Step: Crafting a Tangy Keto Sourdough
1. Create or Refresh Your Keto “Sourdough” Starter
Traditional sourdough depends on wild yeast in a wheat based starter, which can be carb heavy. For a keto version, we replicate some of that flavor and mild fermentation using a specialized approach:
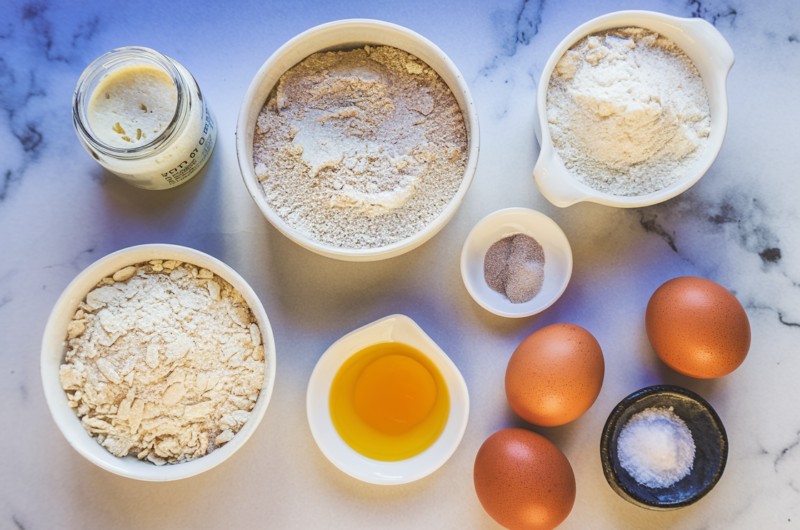
- In a small bowl, combine 1 tablespoon of plain, unsweetened yogurt, ½ cup of water, and ¼ cup of a low-carb flour mix (like a blend of coconut flour, almond flour, and a pinch of flaxseed meal).
- Stir well, cover loosely, and let it sit at room temperature for 12–24 hours. The yogurt’s natural cultures lend a tanginess similar to sourdough, although the rise won’t be the same as classic bread.
- If you’ve made a version of keto starter before, just refresh it the same way: feed with a bit of low-carb flour blend and water. Let it rest until slightly bubbly or tangy smelling.
Potential Hiccup: Starter not showing any bubbles.
Helpful Tip: Ensure your yogurt contains live cultures and keep the mixture warm (around 70–75°F). If it’s wintertime, placing it near a warm spot in your kitchen helps.
2. Gather Your Dry Mix
Once you have a tangy starter, move on to the main dry ingredients for your dough. In a mixing bowl, whisk together:
- 1 cup almond flour
- ¼ cup coconut flour
- 2 tablespoons vital wheat gluten (if you’re comfortable with a slightly higher carb count, this adds elasticity; otherwise, skip and replace with 1 tablespoon psyllium husk)
- 2 tablespoons psyllium husk (for structure)
- 1 teaspoon salt
- 1 teaspoon baking powder
This combination balances moisture absorption, flavor, and texture, nudging you closer to a sourdough crumb.
Potential Hiccup: Crumbly dough from insufficient binding.
Helpful Tip: If you prefer gluten free, skip the vital wheat gluten and rely more on psyllium husk. Just note that your bread might be denser.
3. Combine Wet Ingredients
In a separate bowl, lightly beat 3 eggs (room temperature), then stir in your keto starter (the entire or partial portion, depending on how tangy you like it) and about 2 tablespoons of olive oil. If the mixture is too thick, add a tablespoon or two of warm water or almond milk.
Potential Hiccup: Eggy aftertaste.
Helpful Tip: Swap 1 of the eggs for 2 egg whites if you’re sensitive to egg flavor. You can also add a pinch of your preferred sweetener to balance the savory notes.
4. Form the Dough
Pour the wet mixture into the bowl of dry ingredients. Use a spatula or your hands to combine, ensuring no pockets of flour remain. The dough should feel slightly tacky but not overly wet. If it’s crumbly, add a bit more water. If it’s too sticky, sprinkle a small amount of almond flour.
Potential Hiccup: Overkneading leading to a dense loaf.
Helpful Tip: Gently fold the dough just until combined. Keto doughs don’t benefit from vigorous kneading the way wheat doughs do.
5. First Rise (Optional)
Cover the dough and let it rest at room temperature for about 1–2 hours. Because there’s no traditional yeast at work (or it’s minimal if you used a small pinch of yeast), the dough won’t rise much, but this resting step allows flavors to meld. If you want a stronger tang, place the dough in the fridge overnight, this extends fermentation, activity from the yogurt cultures.
Potential Hiccup: Impatience leading to a rushed rise.
Helpful Tip: Plan ahead. That extra rest can deepen flavor, making it more “sourdough like.”
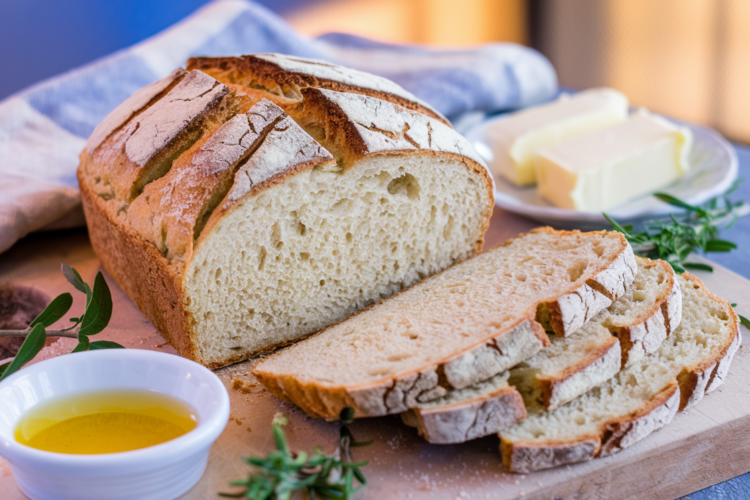
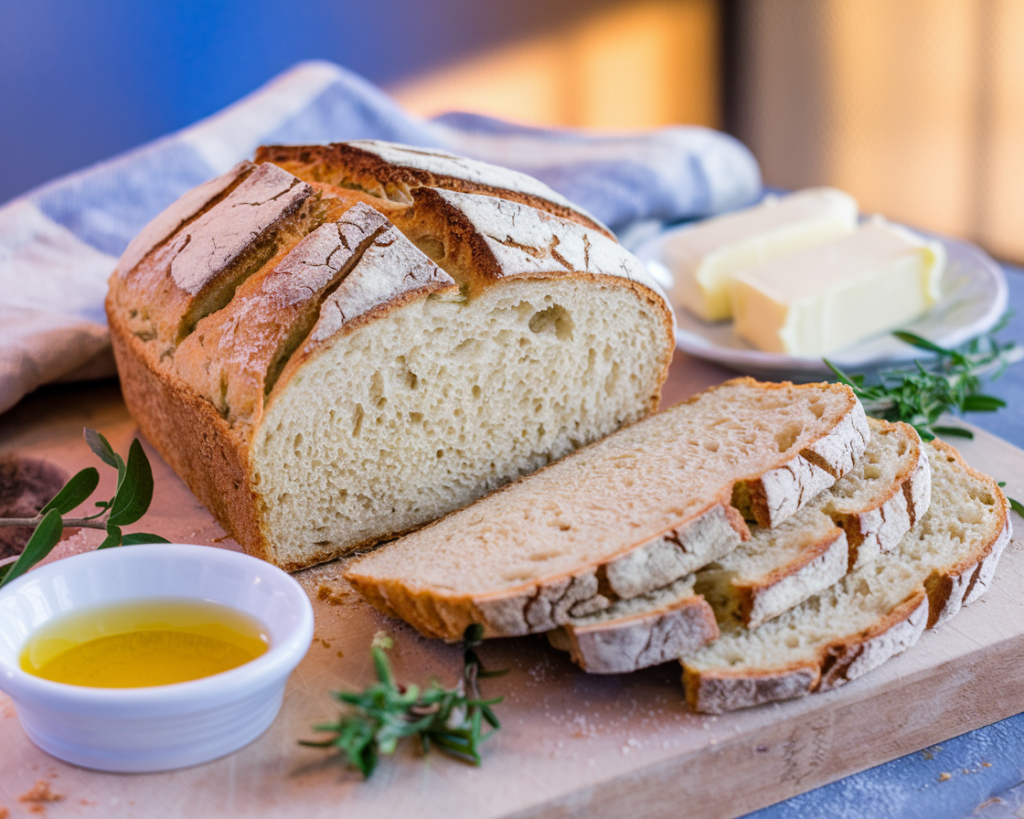
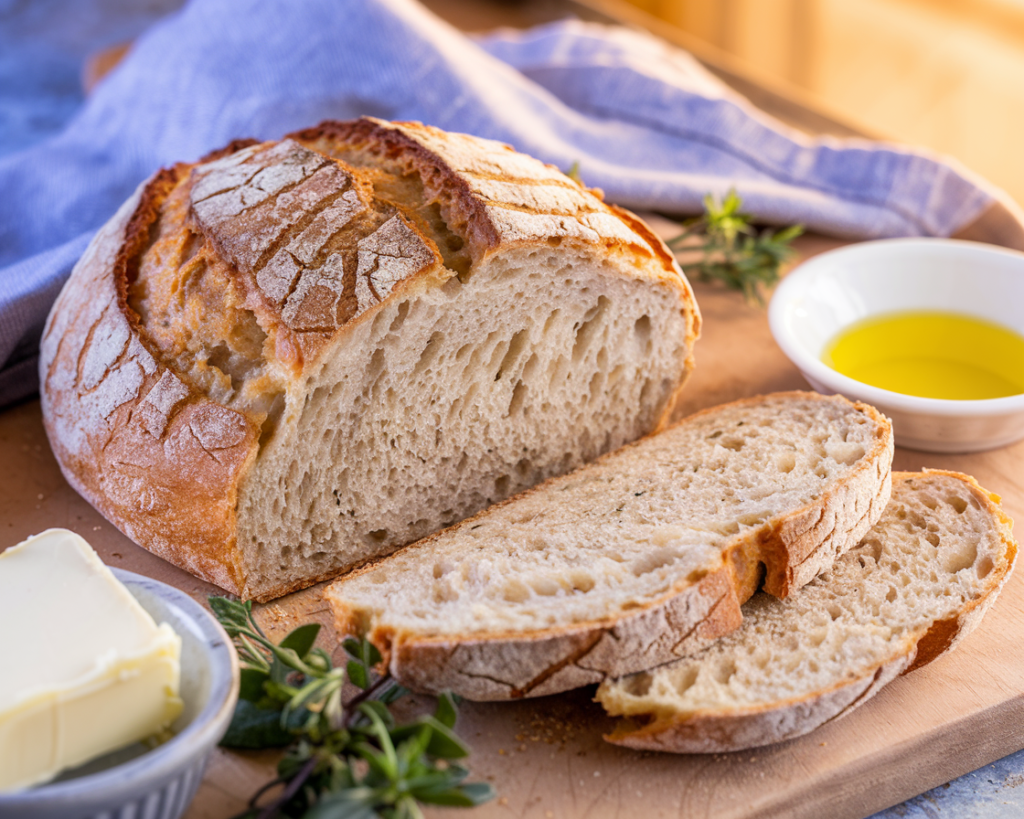
6. Shape and Final Rest
After the dough has rested, shape it into a loaf or place it into a small greased loaf pan. Some people prefer shaping it into a boule (round shape) on parchment paper. Lightly brush the top with olive oil or melted butter for a nice crust.
Let it sit for another 30 minutes if you have time, though it won’t puff dramatically. Preheat your oven to 350°F (175°C) during this stage.
Potential Hiccup: Dry crust forming on top.
Helpful Tip: Cover loosely with plastic wrap or a damp kitchen towel to retain moisture.
7. Bake to Perfection
Slide your loaf (in a pan or on parchment) onto the center rack. Bake for about 40–45 minutes or until the top is golden and firm. A toothpick inserted into the middle should come out relatively clean, indicating a fully set interior. If it seems to brown too quickly, tent the top with foil for the last 10 minutes.
Potential Hiccup: Gummy or undercooked center.
Helpful Tip: If uncertain, switch off the oven and let the loaf rest in the residual heat for an extra 5–10 minutes.
8. Cool and Slice
Take the loaf out and let it cool on a wire rack. Keto bread can be fragile when hot, so giving it at least 30 minutes helps the structure firm up. Slice carefully with a serrated knife.
Potential Hiccup: Loaf falling apart upon slicing.
Helpful Tip: Patience is key. Cutting too soon often leads to crumbly edges.
Nutrition Facts
A single slice of this Keto Sourdough Bread might provide approximately:
- Calories: ~130
- Carbs: 4–5g net
- Fat: ~9–10g
- Protein: ~6–7g
- Fiber: ~3g
Exact macros depend on the size of your loaf, whether you include vital wheat gluten, and the composition of your starter.
Tips for Maximum Freshness and Storage
Keep leftover slices in an airtight container or a bread bag in the fridge for up to 5 days. For extended storage, freeze individual slices with parchment paper in between. Toast or warm in an oven or toaster to re crisp the edges.
Meal Prep Thought: Bake a loaf, slice it, and keep half in the freezer. That way, you always have a supply for quick sandwiches or a breakfast side.
A Personal Take on Flavor Additions
Once you master the base version, you can experiment with mix ins:
- Herbs: Rosemary, thyme, or oregano for a savory loaf.
- Seeds: Sunflower, pumpkin, or sesame seeds kneaded in for crunch.
- Cheese: A sprinkle of grated Parmesan or cheddar in the dough for extra richness.
For a sweeter hint, add a teaspoon of sugar free sweetener or a swirl of cinnamon, though that veers from the classic sourdough vibe.
Pairing Suggestions with Other Recipes
Slice your freshly baked loaf and top it with avocado and a sprinkle of red chili for a quick snack, or serve it alongside our Chocolate Raspberry Tart from Easy Gym Recipes as a dessert complement. If you’re in a sandwich mood, layer it with turkey, cheese, and crisp lettuce for a midday. Our downloadable meal planners also offer ways to incorporate small bread portions into a balanced keto meal plan.
Pin This Recipe for Later
Ready to reclaim sourdough flavor without a carb overload? Pin this Keto Sourdough Bread Special Edition with a note: “Tangy loaf vibes, low-carb style!” You’ll be able to find it quickly whenever you’re craving that sour bite.
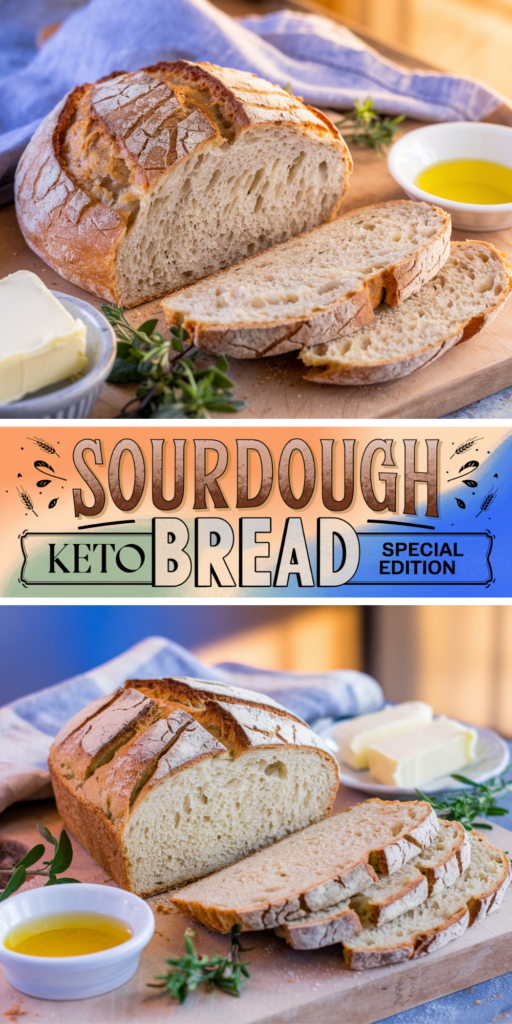
Keto Sourdough Bread Special Edition
Course: BreadCuisine: Keto, Low-CarbDifficulty: Moderate10-12
servings12
minutes12
hours130
kcal45
minutesEnjoy our homemade keto bread!
Ingredients
- Keto Starter (DIY)
¼ cup low-carb flour mix (almond + coconut flour)
1 tablespoon plain yogurt (with live cultures)
½ cup water
- Bread Dough
1 cup almond flour
2 tablespoons vital wheat gluten (optional)
¼ cup coconut flour
2 tablespoons psyllium husk
1 teaspoon salt
1 teaspoon baking powder
3 eggs, lightly beaten
2 tablespoons olive oil
Optional: additional herbs, seeds, or cheese
Remember!
- Remember, this process won’t produce a lofty sourdough like a traditional wheat-based loaf. However, you’ll capture enough of that tang and bread like crumb to scratch the sourdough itch while adhering to a keto or low-carb approach. The outcome is a flexible bread that slices well and gives you that nostalgic aroma of sourdough in your own kitchen. Enjoy the process and every tangy, toasty bite!
Notes
- 1️⃣ Authentic Sourdough Flavor! A keto friendly take on sourdough with a DIY starter & tangy, fluffy texture, low in carbs, big on taste! 🥖🌾
- 2️⃣ Nutritious & Gluten Conscious! Made with almond & coconut flour, plus psyllium husk for structure & fiber, wholesome & filling! 🥥✨
- 3️⃣ Versatile & Customizable! Add herbs, seeds, or cheese for extra flavor, perfect for sandwiches, toast, or dipping! 🌿🧀
