
Everyone has that childhood memory of a sweet treat that felt like a prize at the end of a long day. For me, it was the homemade scotcheroos my grandmother used to whip up during summer breaks. She had a special way of mixing cereal, peanut butter, and a hint of chocolate that brought the entire family into the kitchen. As I got older and started focusing on my health and fitness routine, I realized I wanted to keep enjoying these beloved squares but with a lighter, more nutrient-conscious spin. That’s how this healthy version of No Bake Scotcheroos came to be-a way to hold on to nostalgia while still fitting into my gym routine.
These bars offer a balance of nut butter, protein, and just enough sweetness to hit that comfort-food note without weighing you down.
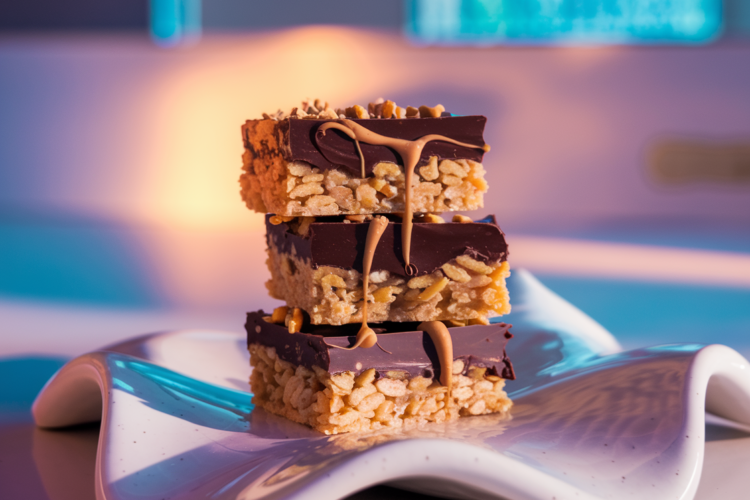
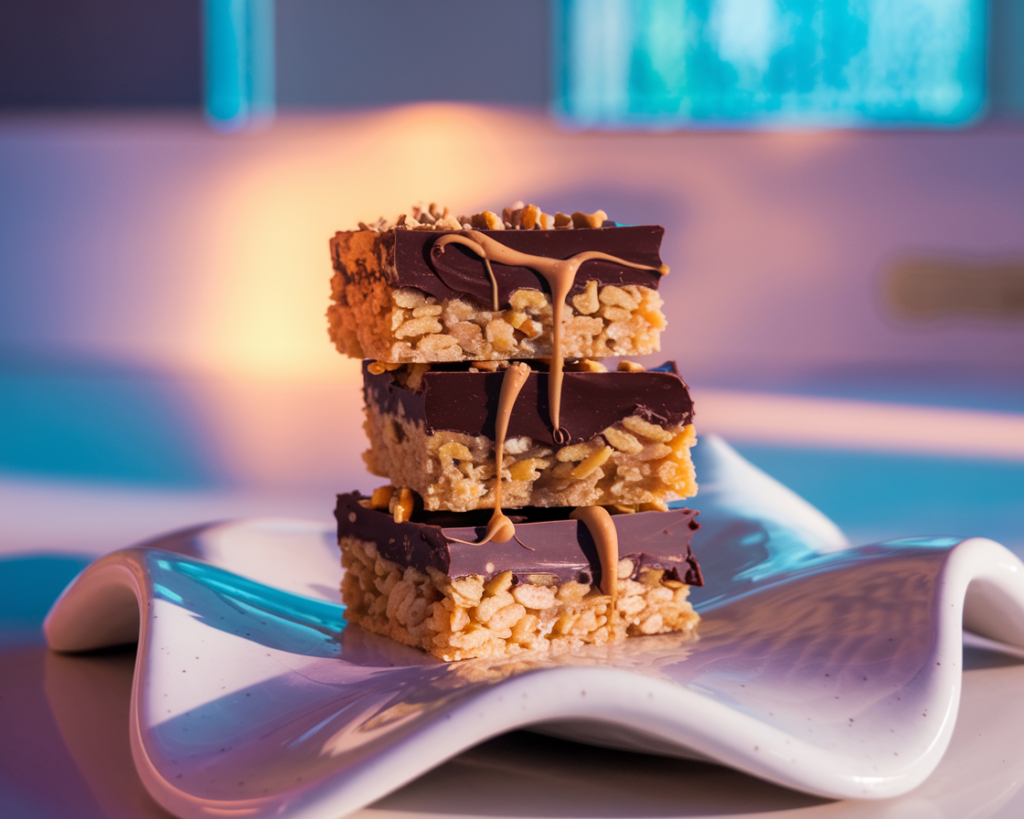
Best of all, they’re made without turning on the oven, which keeps the cereal crisp intact. The combination of chocolate with a subtle caramel-like flavor is something I’ve always found satisfying after a solid workout. If it’s the end of a training session or a quick afternoon break, these no-bake treats can easily become your new favorite pick-me-up.
Tips for Maximum Freshness and Storage
One of the perks of No Bake Scotcheroos is that they store really well. I often make a batch on Sunday and ration them out throughout the week.
- Cut and Store: Slice them into bars, then place them in an airtight container. Layer them with parchment paper to keep the bars from sticking together.
- Keep Them Chilled: I suggest storing in the fridge, especially in warmer climates, so the chocolate top remains solid. They’ll stay fresh for about a week.
- Freezing Option: If you want to keep them for longer, wrap each bar in plastic or foil before placing them in a freezer bag. They can last up to three months this way. Just let them thaw in the fridge or on the counter before eating.
A Personal Take on Flavor Additions
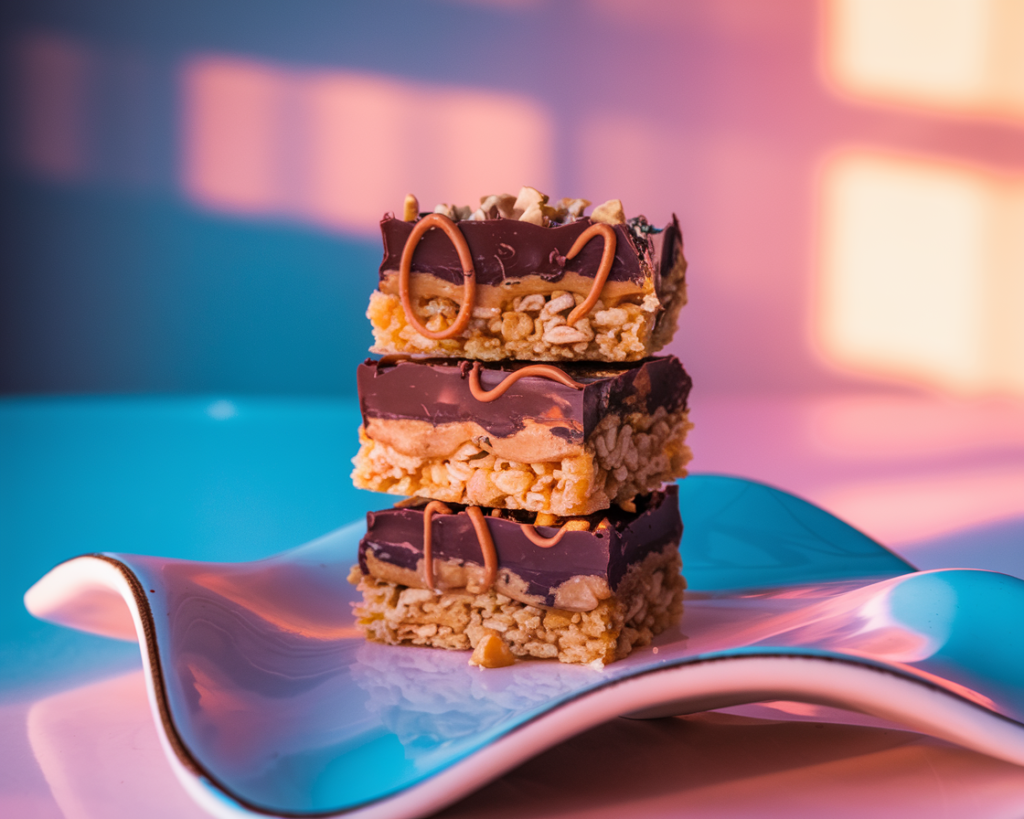
I love experimenting with these bars by switching up the nut butter. Almond butter brings a milder, more subtle taste, while cashew butter creates a creamy undertone. For those looking to add a slight crunch, consider sprinkling chopped nuts over the melted chocolate before placing the pan in the fridge.
The added texture is something I came to appreciate after a friend suggested adding crushed peanuts on top for a bit of flair.
You can also stir in a dash of cinnamon or a hint of sea salt for a nice counterpoint to the sweetness.
Pairing Suggestions with Other Recipes
Since these bars offer a sweet, chocolatey taste, they match well with lighter, refreshing treats. If you’re looking to carry the chocolate vibe even further, you might like our Chocolate Protein Brownies that also skip the refined sugars. Another fun match is a fruit-based protein smoothie-something tangy helps balance the sweetness of these scotcheroos. I sometimes pair them with Greek yogurt and fresh berries to add a bit of freshness.
If you’re hosting a casual get-together, you can even create a mini dessert bar featuring these squares alongside small bowls of fruit salad and maybe a small dish of dark chocolate chips. Variety is a fun way to let guests pick their own sweet indulgences without any hassle.
Pin This Recipe for Later
Would you like a quick reference to this gym-friendly scotcheroos recipe? Pin these bars to your favorite dessert board! They’ll be waiting for that moment when you want a no-bake treat without turning your oven into a sauna. Add a cute note about your personal favorite nut butter or the type of cereal you found that worked best. A small personal twist makes your pinned recipe more memorable when you see it again.
These simple items come together to create a memorable treat that honors the classic scotcheroos flavor with a fitness-focused spin. Whip them up once, and you’ll see how quickly they vanish from the fridge-my own family can never resist peeking inside for these squares at all hours of the day. I hope you enjoy this no-bake, hassle-free recipe as much as I do. It’s a fun taste of home that fits right into an active routine, keeping your sweet tooth satisfied without the need for an oven.
Feel free to make your own adjustments: a swirl of caramel drizzle, a sprinkle of sea salt, or even adding a few dried fruits for variety.
Now, it’s time to grab your mixing bowl and start creating your own batch of No Bake Scotcheroos. Happy munching!
A Step-by-Step Path to Deliciousness
1. Prepping the Pan
Begin by lining a square baking dish-about 8×8 inches in size-with parchment paper. Leave some overhang on the sides, so you can lift out the bars once they’ve firmed up. This step keeps things neat when cutting your scotcheroos later. I once tried skipping the parchment, and ended up chiseling the bars out of the pan with a spatula, so I highly recommend not leaving this out.
2. Choosing Your Sweetener
Combine a natural sweetener (like honey or a maple-based syrup) with peanut butter in a microwave-safe bowl. I usually do short bursts of 15 to 20 seconds in the microwave to soften the mixture. Stir thoroughly in between each interval to make sure you don’t scorch the edges. If you prefer a stovetop method, place the peanut butter and sweetener over low heat, stirring constantly until it’s pliable enough to mix with the cereal.
3. Mixing in the Cereal
Next comes the crunch factor. Carefully fold in your cereal of choice-commonly rice cereal—until every piece is coated. This is the part where I like to channel my grandma’s gentle hand, almost like folding in delicate egg whites. Too much force can crush the cereal, but a methodical fold will keep everything nicely distributed and maintain that crispy texture. Once combined, scoop the mixture into your lined pan, and lightly press it down with the back of a spoon or a silicone spatula.
4. Forming a Smooth Base
Pressing down on the mixture can feel like sculpting. If your mixture is warm, it should pack easily. If it starts sticking to your fingers or utensils, a little oil spray can help. Just a light coat on your hands or spatula will keep the cereal from clinging. After spreading it out, create a level surface that will support the layer of chocolate that’s about to come next.
5. Chocolate Topping
Add dark chocolate chips and a small dollop of peanut butter to a separate bowl and microwave in 15-second bursts. Stir in between rounds to prevent hot spots. You’ll know it’s ready when it becomes a glossy, pourable sauce. If you want to boost the protein content, stir in a scoop of chocolate protein powder at this point, but you may need to add a bit more peanut butter or coconut oil to keep it from getting too stiff. Once it’s melted and well-blended, pour it over the cereal layer and use a spatula to create an even top.
6. Chilling Out
Now it’s time for the refrigerator to work its magic. Slide the pan in for about 30 minutes or until the chocolate layer has set. If you’re short on time, you can place them in the freezer for a quicker firm-up, but keep an eye on them so they don’t freeze solid. After chilling, gently lift the bars out of the pan using the parchment overhang, then cut them into 16 squares. At this point, I usually munch on a corner piece it’s the best way to do a quick taste test!
No Bake Scotcheroos: A Sweet, Gym-Friendly Treat
Course: DessertCuisine: AmericanDifficulty: Easy16
servings15
minutes180
kcalIngredients (All at the End!)
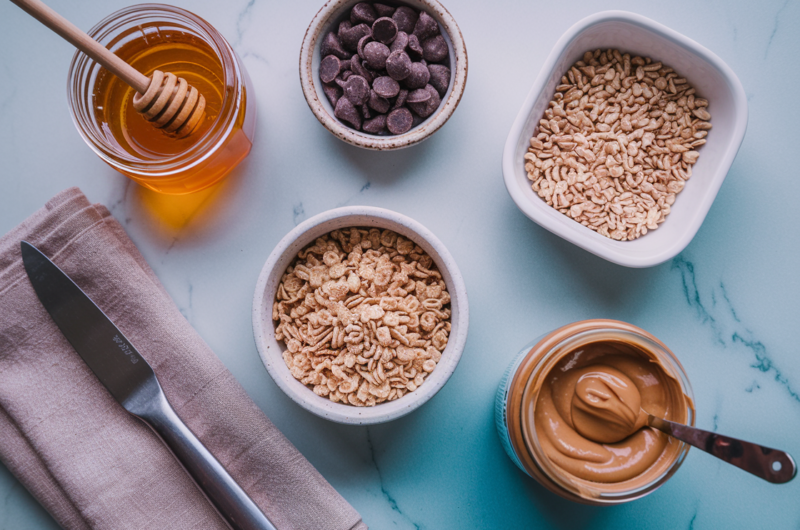
Rice cereal (3 cups)
Peanut butter (1 cup) 🥜
Honey or maple-based syrup (1/2 cup) 🍯
Dark chocolate chips (1/2 cup) 🍫
Optional: Additional peanut butter (1 tablespoon) for melting with the chocolate 🥜
Optional: Protein powder (1 scoop) 💪
Nutrition Facts (Per Serving)
- Calories: ~180
- Protein: ~6g
- Carbohydrates: ~20g
- Fats: ~9g
- Fiber: ~2g
