
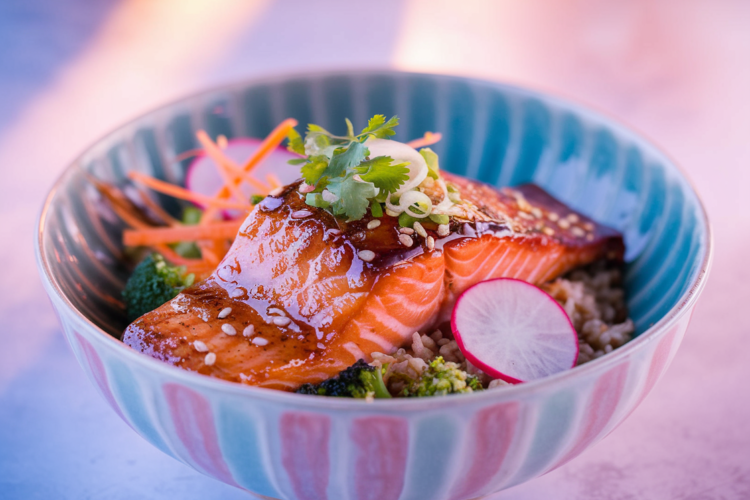
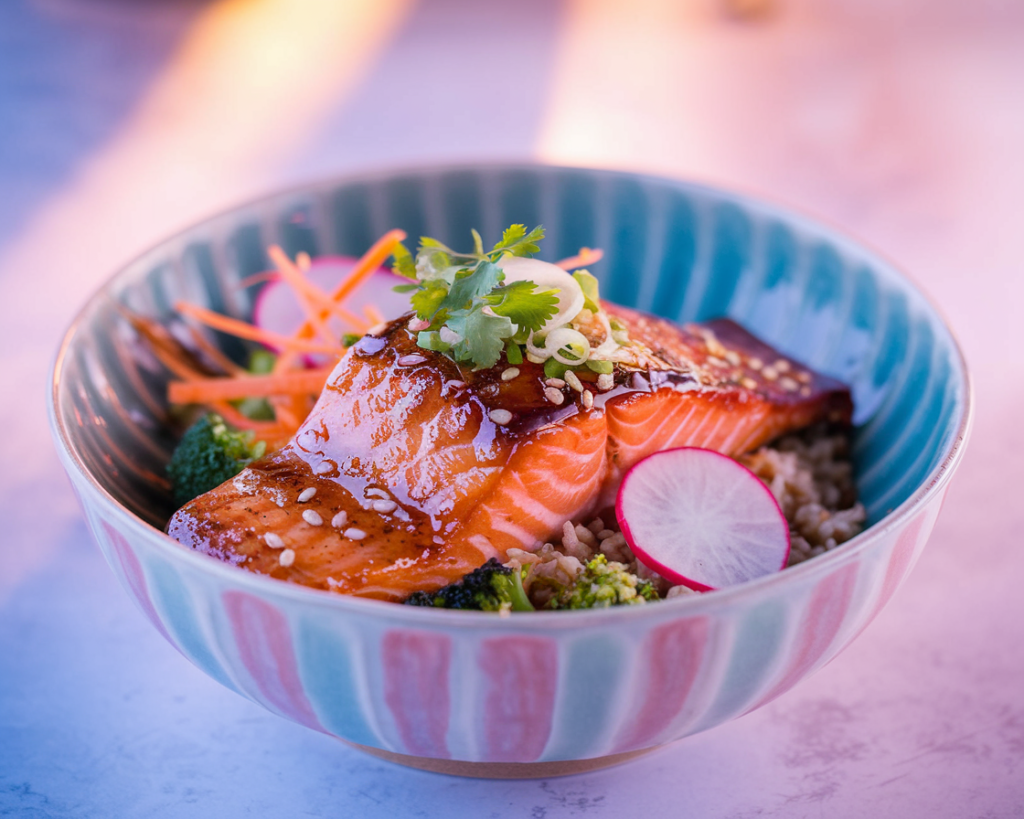
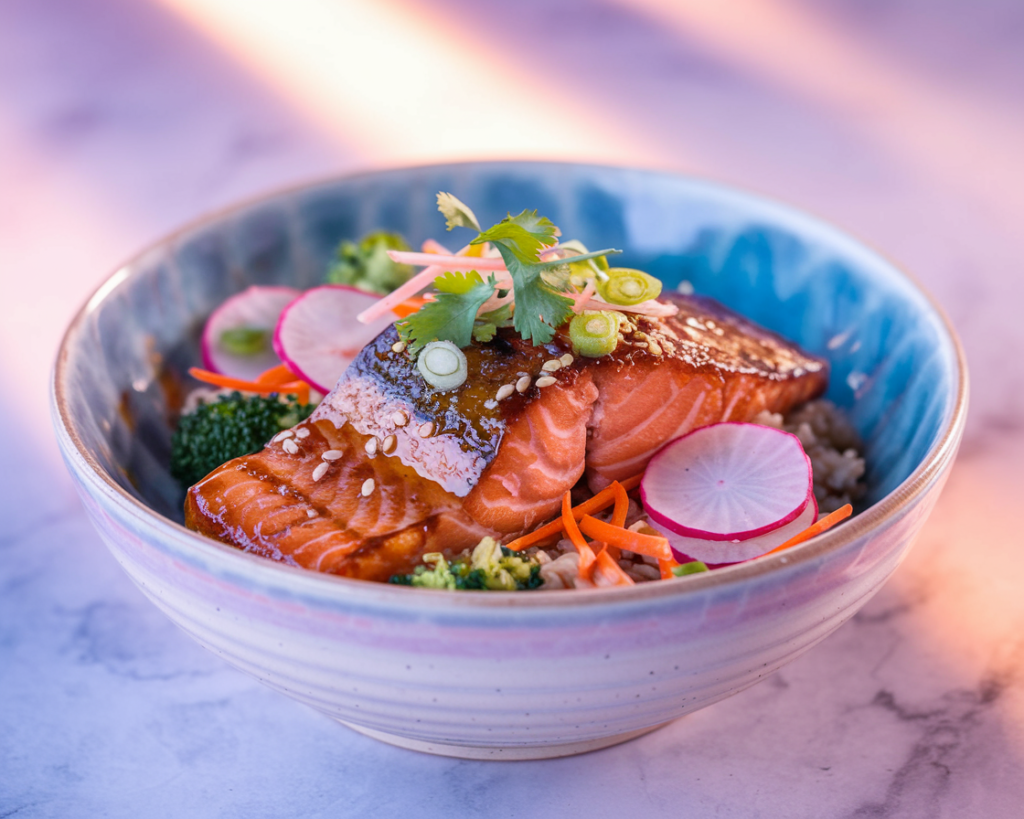
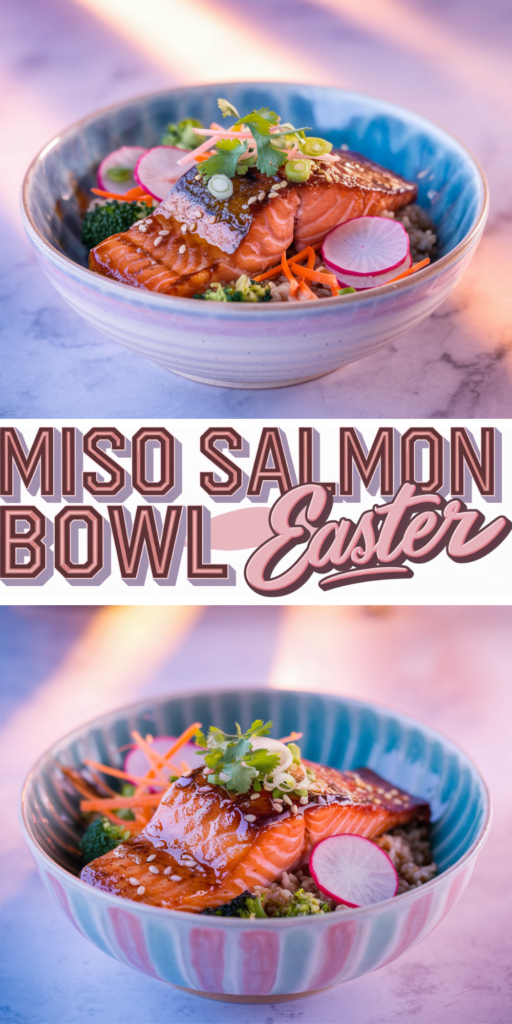
I recall a family gathering around Easter when I wanted to serve salmon in a fresh, colorful way. I experimented with miso paste to create a sticky, slightly sweet glaze that clung to each fillet. The result combined a savory backbone with a mild sweetness, which felt both satisfying and festive. I paired it with vibrant vegetables and a soft grain base to craft a balanced meal. Now, this Sticky Easter Miso Salmon Bowl returns to my kitchen each spring, bringing cheerful colors and a harmonious taste that pleases friends and family.
Time, Servings, and Calories
- Prep Time: 15 minutes
- Cook Time: 10 to 12 minutes
- Servings: 4 bowls
- Approximate Calories: 350 per bowl
These numbers can vary based on the grains you choose and any additional toppings. You can prepare the veggies and sauce while the salmon marinates, making the process flow smoothly.
Step by Step Directions
1. Create the Miso Marinade
Take a small bowl. Stir together a spoonful of miso paste, a drizzle of honey or maple flavored syrup, a splash of soy sauce (or tamari), and a little grated ginger or garlic if you like extra flavor. The consistency should feel thick enough to coat the salmon but not overly sticky. If needed, add a bit of warm water to thin it slightly.
2. Marinate the Salmon
Pat the salmon fillets dry and place them on a plate or in a shallow dish. Spoon the miso mixture over each piece, then rub it in gently to cover the top and sides. Let the salmon rest in the fridge for about 10 minutes while you prepare other ingredients.
3. Cook the Grain Base
Pick a healthy grain such as brown rice, quinoa, or cauliflower rice for a lighter option. Follow the instructions on the package. Begin this step early so the grains finish cooking by the time the salmon is ready. Fluff the grains with a fork and keep them warm.
4. Roast or Pan-Sear the Salmon
Choose your cooking method:
- Oven Method: Preheat the oven to 400 degrees Fahrenheit. Arrange the marinated fillets on a baking sheet lined with parchment. Roast them for about 10 to 12 minutes or until they flake easily with a fork.
- Pan-Sear Method: Warm a nonstick skillet over medium high heat. Cook the salmon fillets skin side down first (if they have skin). Lower the heat if the miso glaze begins to caramelize too quickly. Flip gently and continue until they reach an internal temperature of about 145 degrees Fahrenheit.
5. Assemble the Bowl
Place a scoop of your chosen grain at the bottom of each bowl. Add assorted vegetables like steamed broccoli florets, shredded carrots, or thinly sliced radishes. Lay the cooked salmon on top. If you have extra marinade, drizzle it lightly over the veggies, but only if it was not in contact with raw salmon. Otherwise, prepare a small additional batch of sauce for drizzling.
6. Finishing Touches
Top each bowl with sliced green onions, toasted sesame seeds, or a few cilantro leaves. You can add thin slices of fresh chili if you like a spicy edge. A lime or lemon wedge on the side lets people add a pop of citrus.
Nutrition Facts (Approximate)
- Protein: About 30 grams per bowl (depending on salmon portion)
- Carbs: 25 to 30 grams per bowl (varies by grain choice)
- Fats: Around 10 grams per bowl
- Fiber: 3 to 5 grams
These values depend on the size of the salmon fillets and the amount of grain in each serving. Adjust as necessary for personal goals or dietary needs.
Storage and Reheating
Store leftover salmon and grains separately in sealed containers. They keep for about two days in the fridge. To reheat, warm the grains in a microwave safe dish or in a skillet with a splash of water. Gently warm the salmon in a pan over low heat or use short microwave bursts to avoid overcooking. If you have leftover sauce, store it in a small container in the fridge and use it within a day or two.
Personal Flavor Tweaks
- If you prefer more sweetness, add a bit more honey or a sugar-free syrup alternative.
- For a sharper taste, include extra ginger or garlic.
- If you crave a tang, stir in a splash of rice vinegar to the marinade.
- A pinch of chili flakes or sriracha can bring a spicy dimension.
Pairing Suggestions
Serve this salmon bowl with a light cucumber salad or a chilled edamame side. A fruit based dessert, such as fresh pineapple wedges or melon slices, can complement the savory flavors. Some people like a miso soup starter, though that may double down on miso flavor. If you want a cool beverage, try sparkling water with lime.
Pin This Recipe
Save this Sticky Easter Miso Salmon Bowl for a springtime lunch or dinner when you want bright flavors and a protein rich main. Feel free to explore our free meal planner for more seasonal meal ideas. Enjoy the tender salmon, tasty glaze, and colorful bowl that capture the feel of a cheery holiday meal.
Sticky Easter Miso Salmon Bowl
Course: DinnerCuisine: Asian-InspiredDifficulty: Easy4
servings15
minutes10
minutes350
kcalIngredients
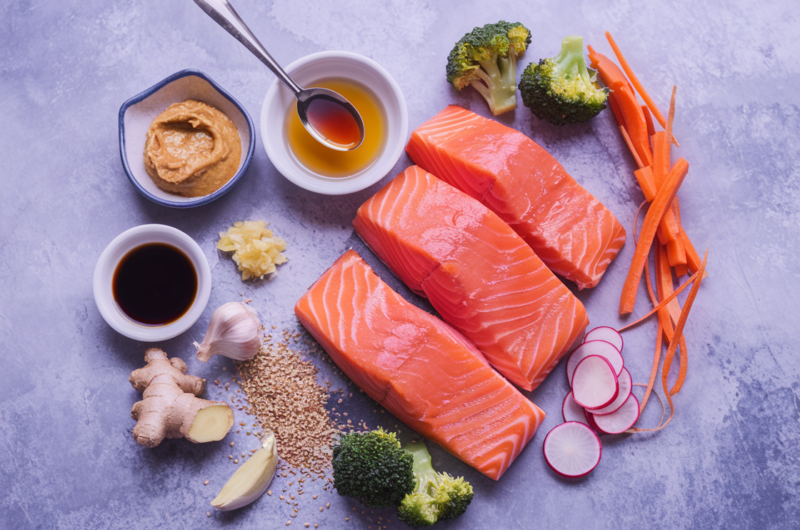
Salmon fillets (3-4 pieces) 🐟
Miso paste (1 to 2 tablespoons) 🍜
Honey or maple flavored syrup (1 tablespoon) 🍯
Soy sauce or tamari (1 tablespoon) 🥢
Grated ginger or garlic (1 teaspoon, optional) 🌱
Brown rice or quinoa (2 cups cooked) 🍚
Mixed vegetables (carrots, broccoli, radishes, etc.) 🥦🥕
Green onions, sesame seeds, or cilantro (for garnish) 🌿
EnjoY!
- Enjoy this sticky and savory salmon bowl as a healthier Easter themed meal or a fresh dish any time you crave miso and fish. The gentle sweetness of the glaze and the wholesome grains bring a pleasant contrast to the crisp veggies, making each bite bright and satisfying.
Notes
- Marinate for Flavor: Let the salmon marinate for at least 15 minutes to deepen the umami-rich miso glaze.
- Crispy Skin Hack: Sear salmon skin-side down in a hot pan for extra crispiness before baking or broiling.
- Customize Your Bowl: Swap brown rice for quinoa or cauliflower rice for a lighter, gluten-free option.
